Advanced Allocations Installation and Registration
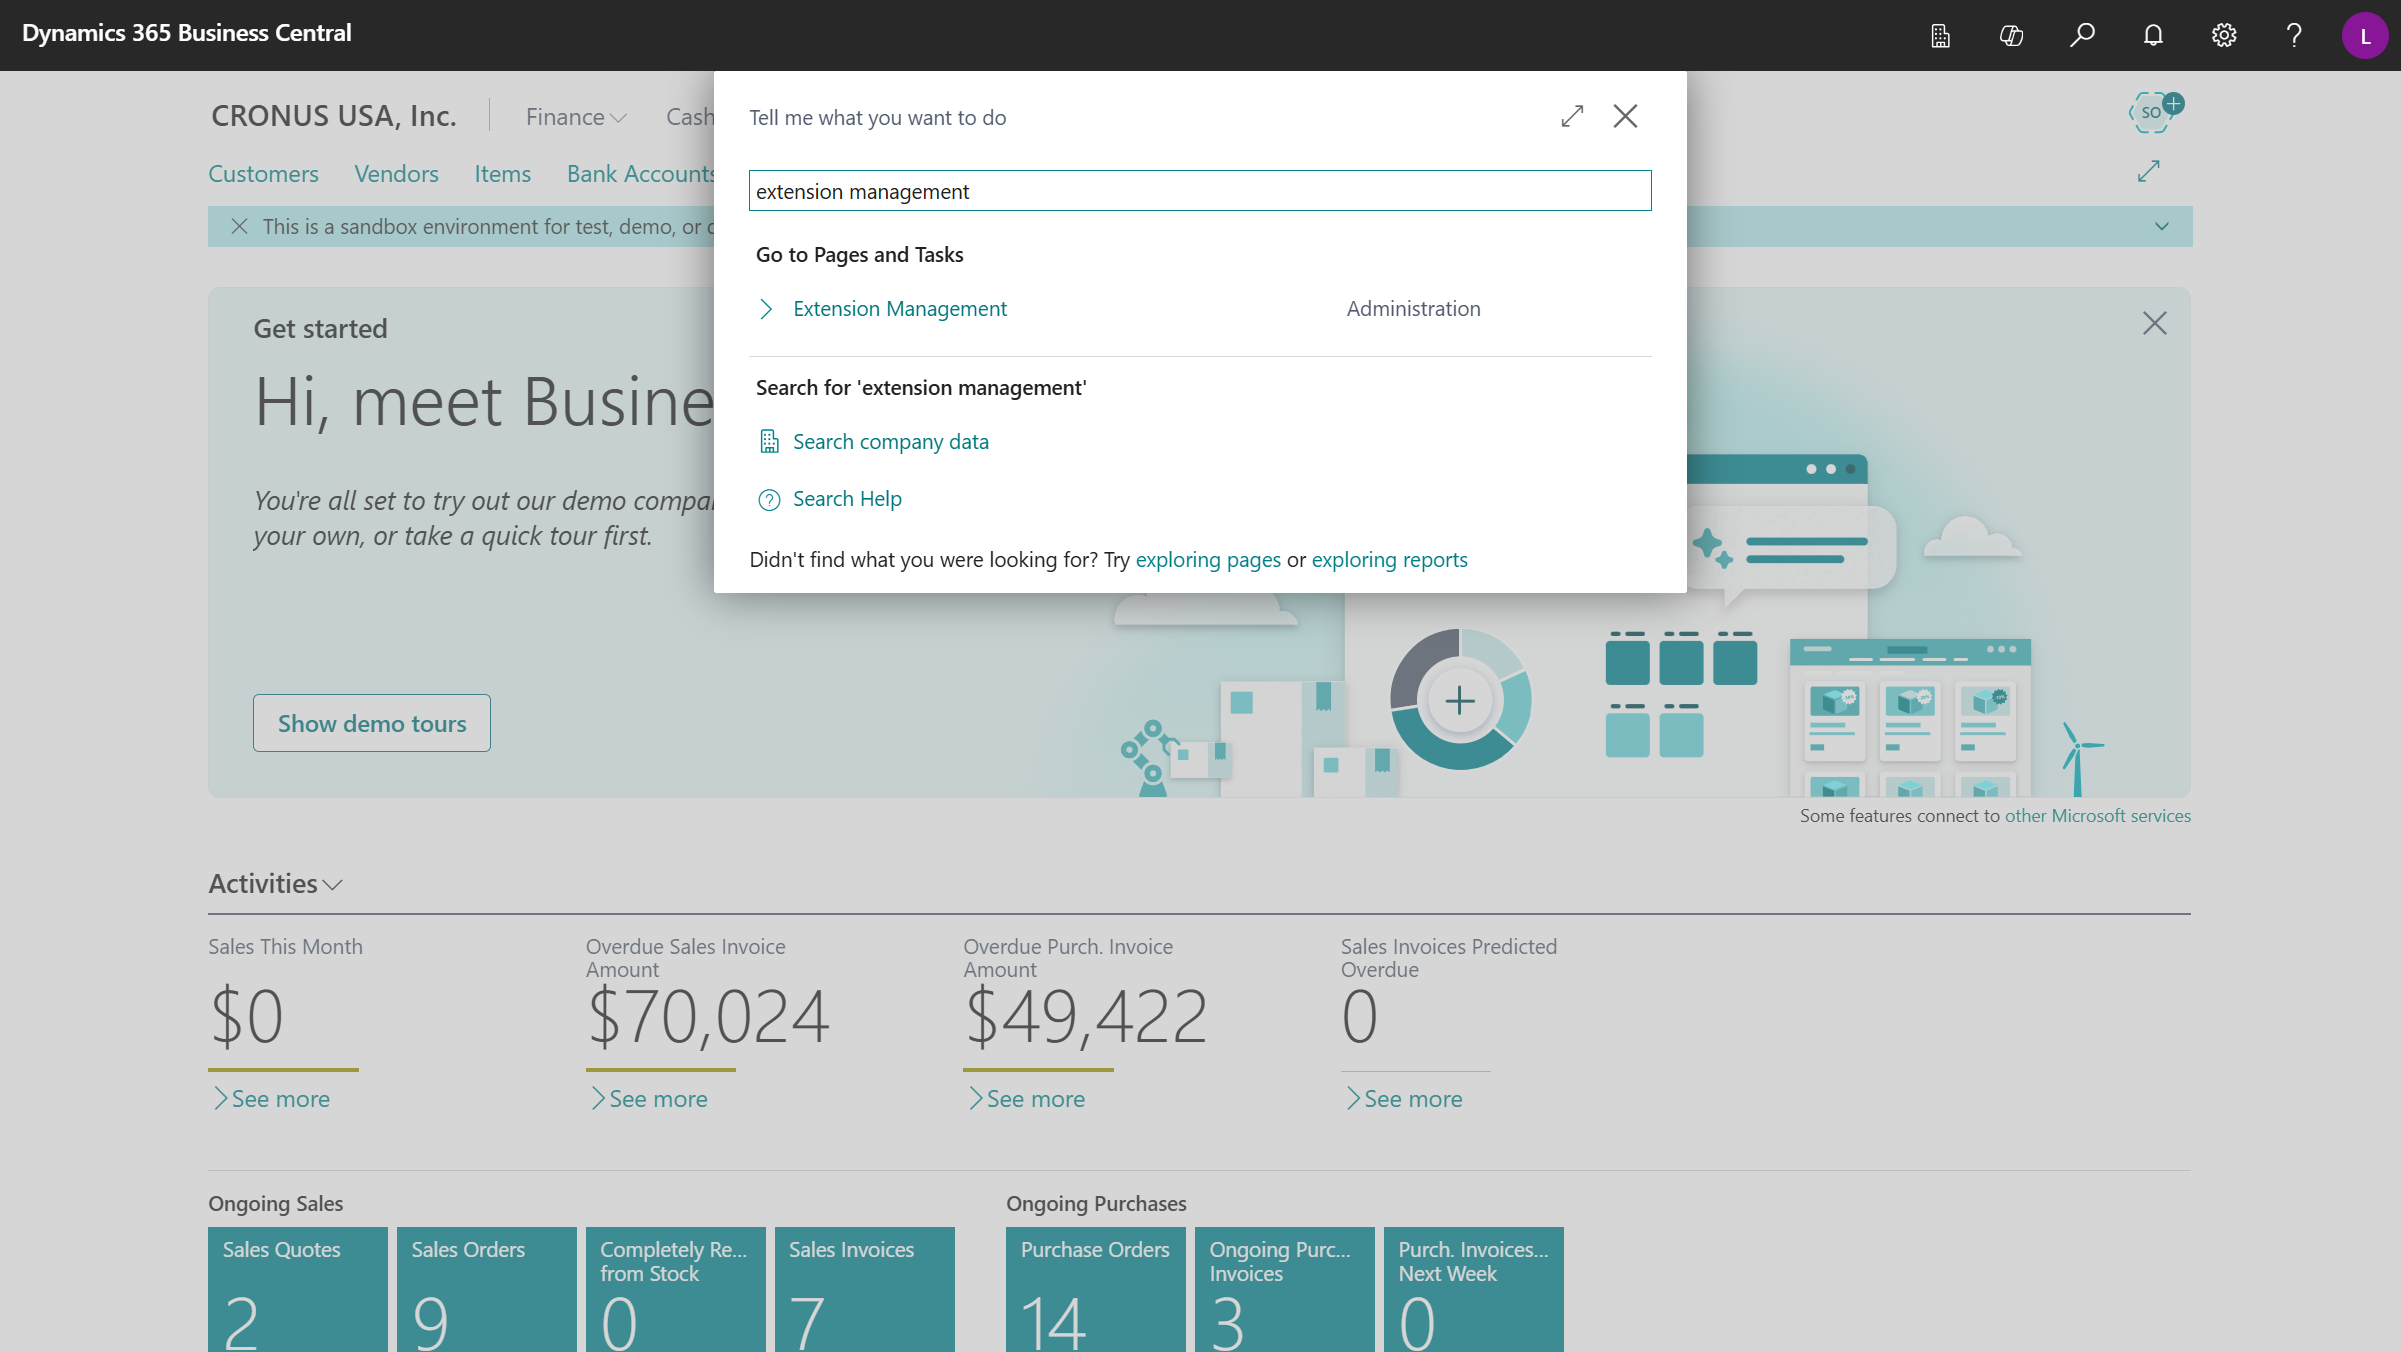
Search for Extension Management and select the related link.
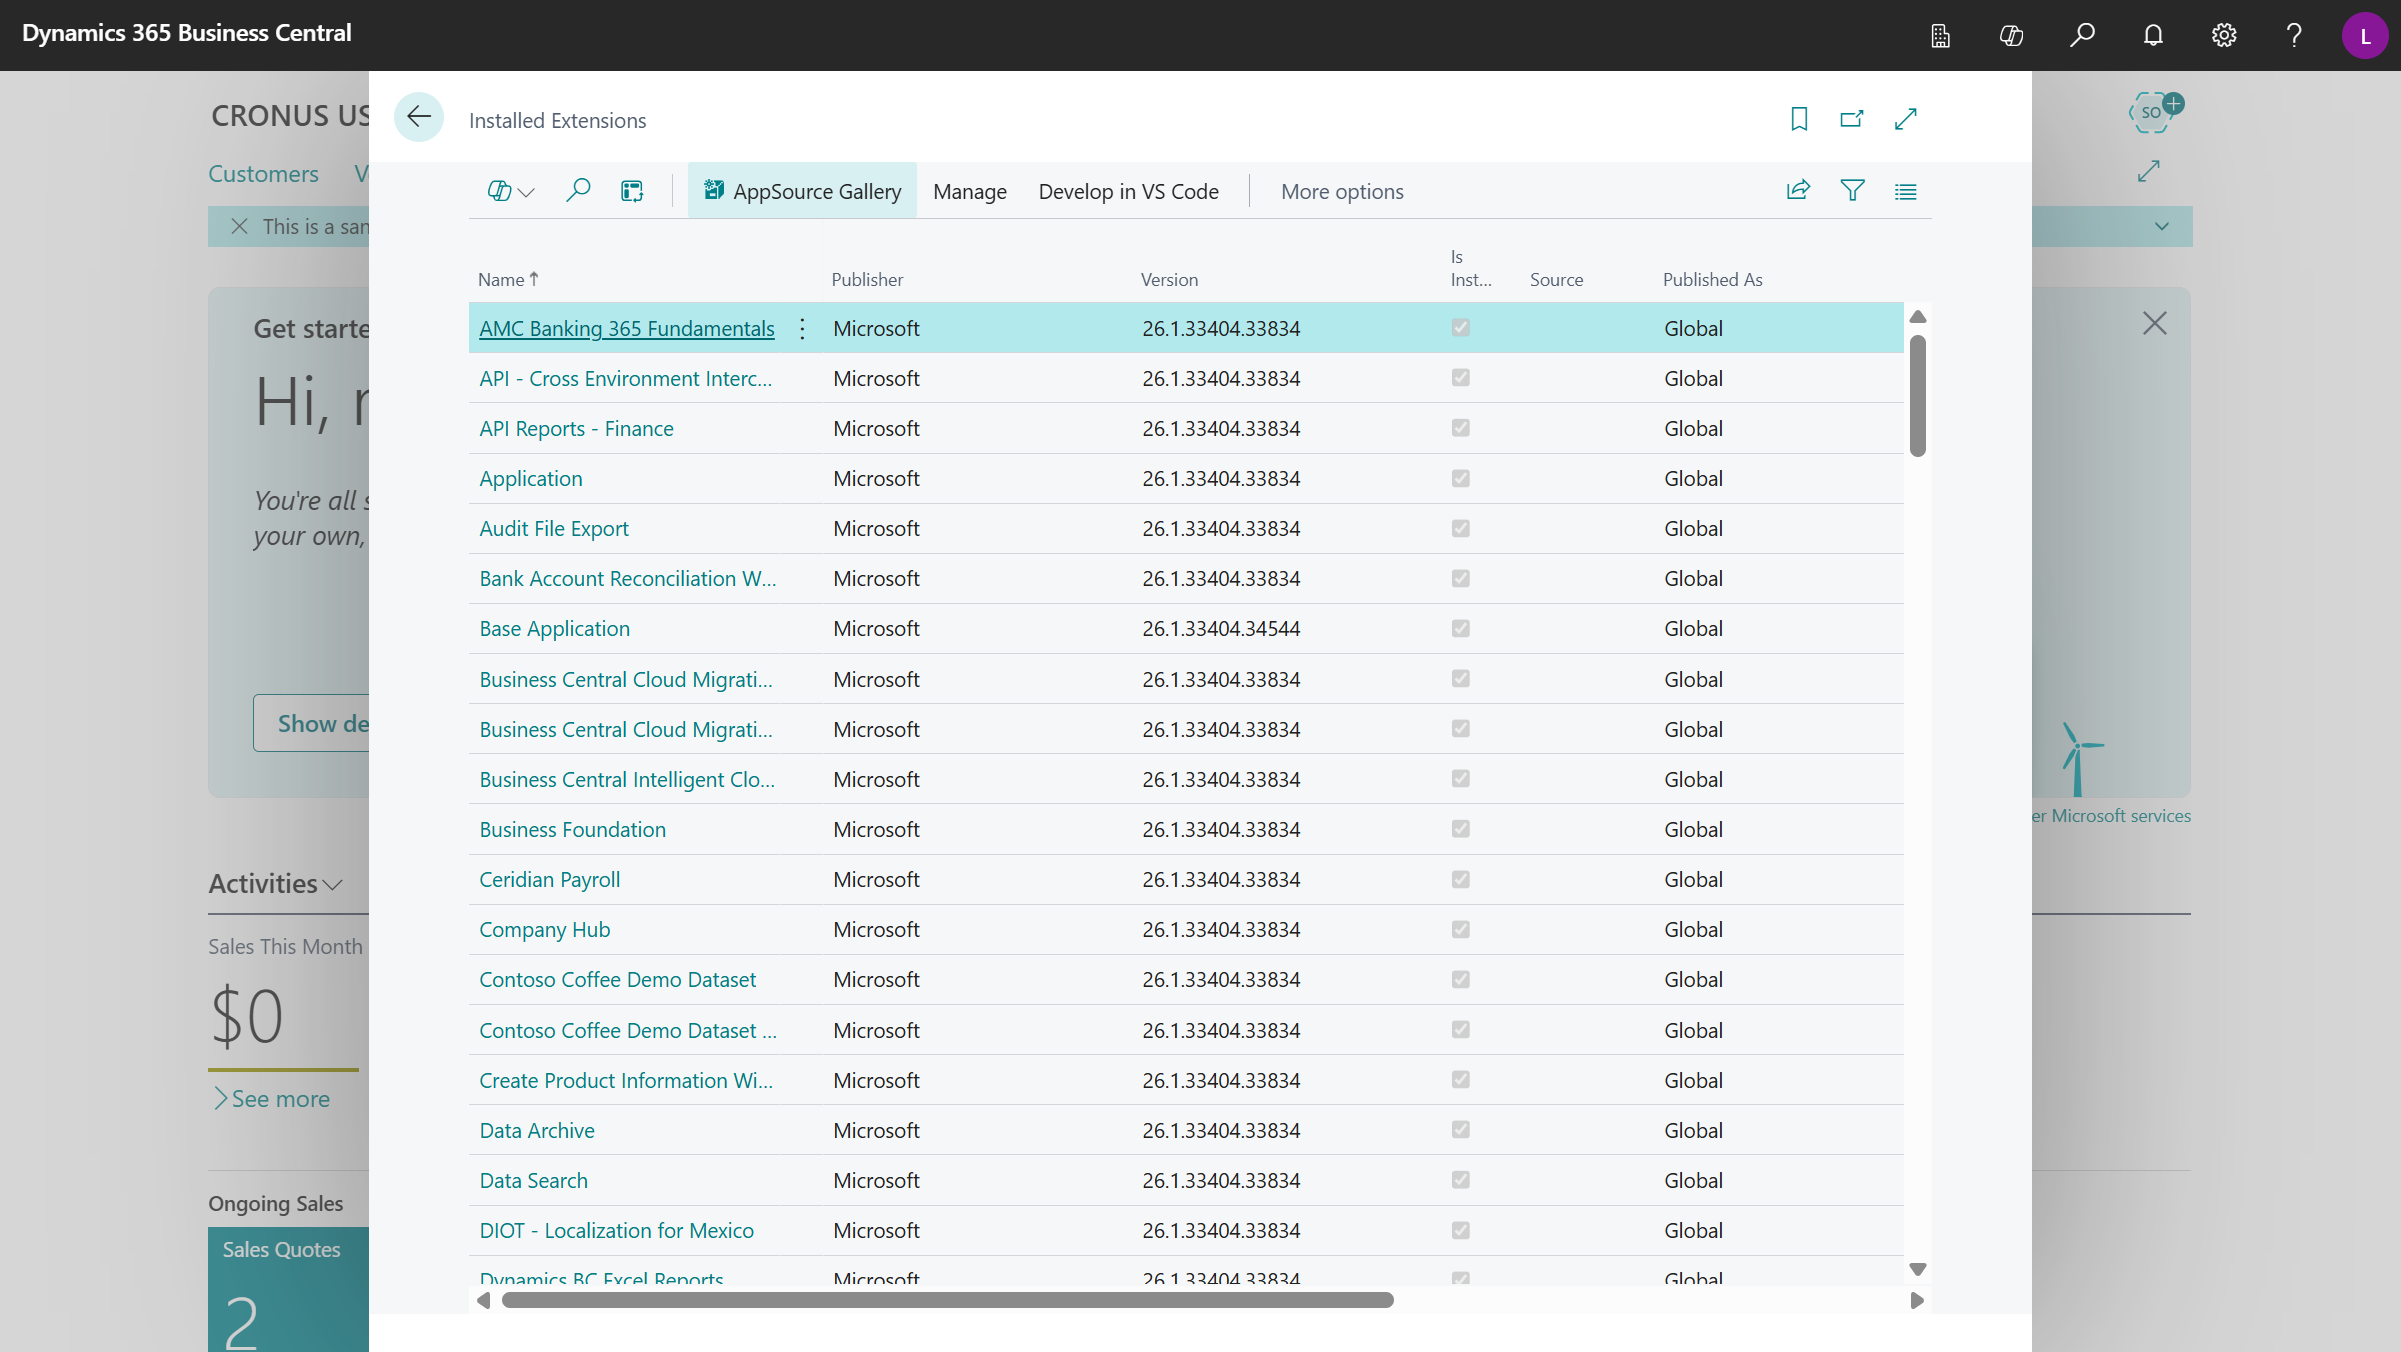
In the Extension ribbon select AppSource Gallery.
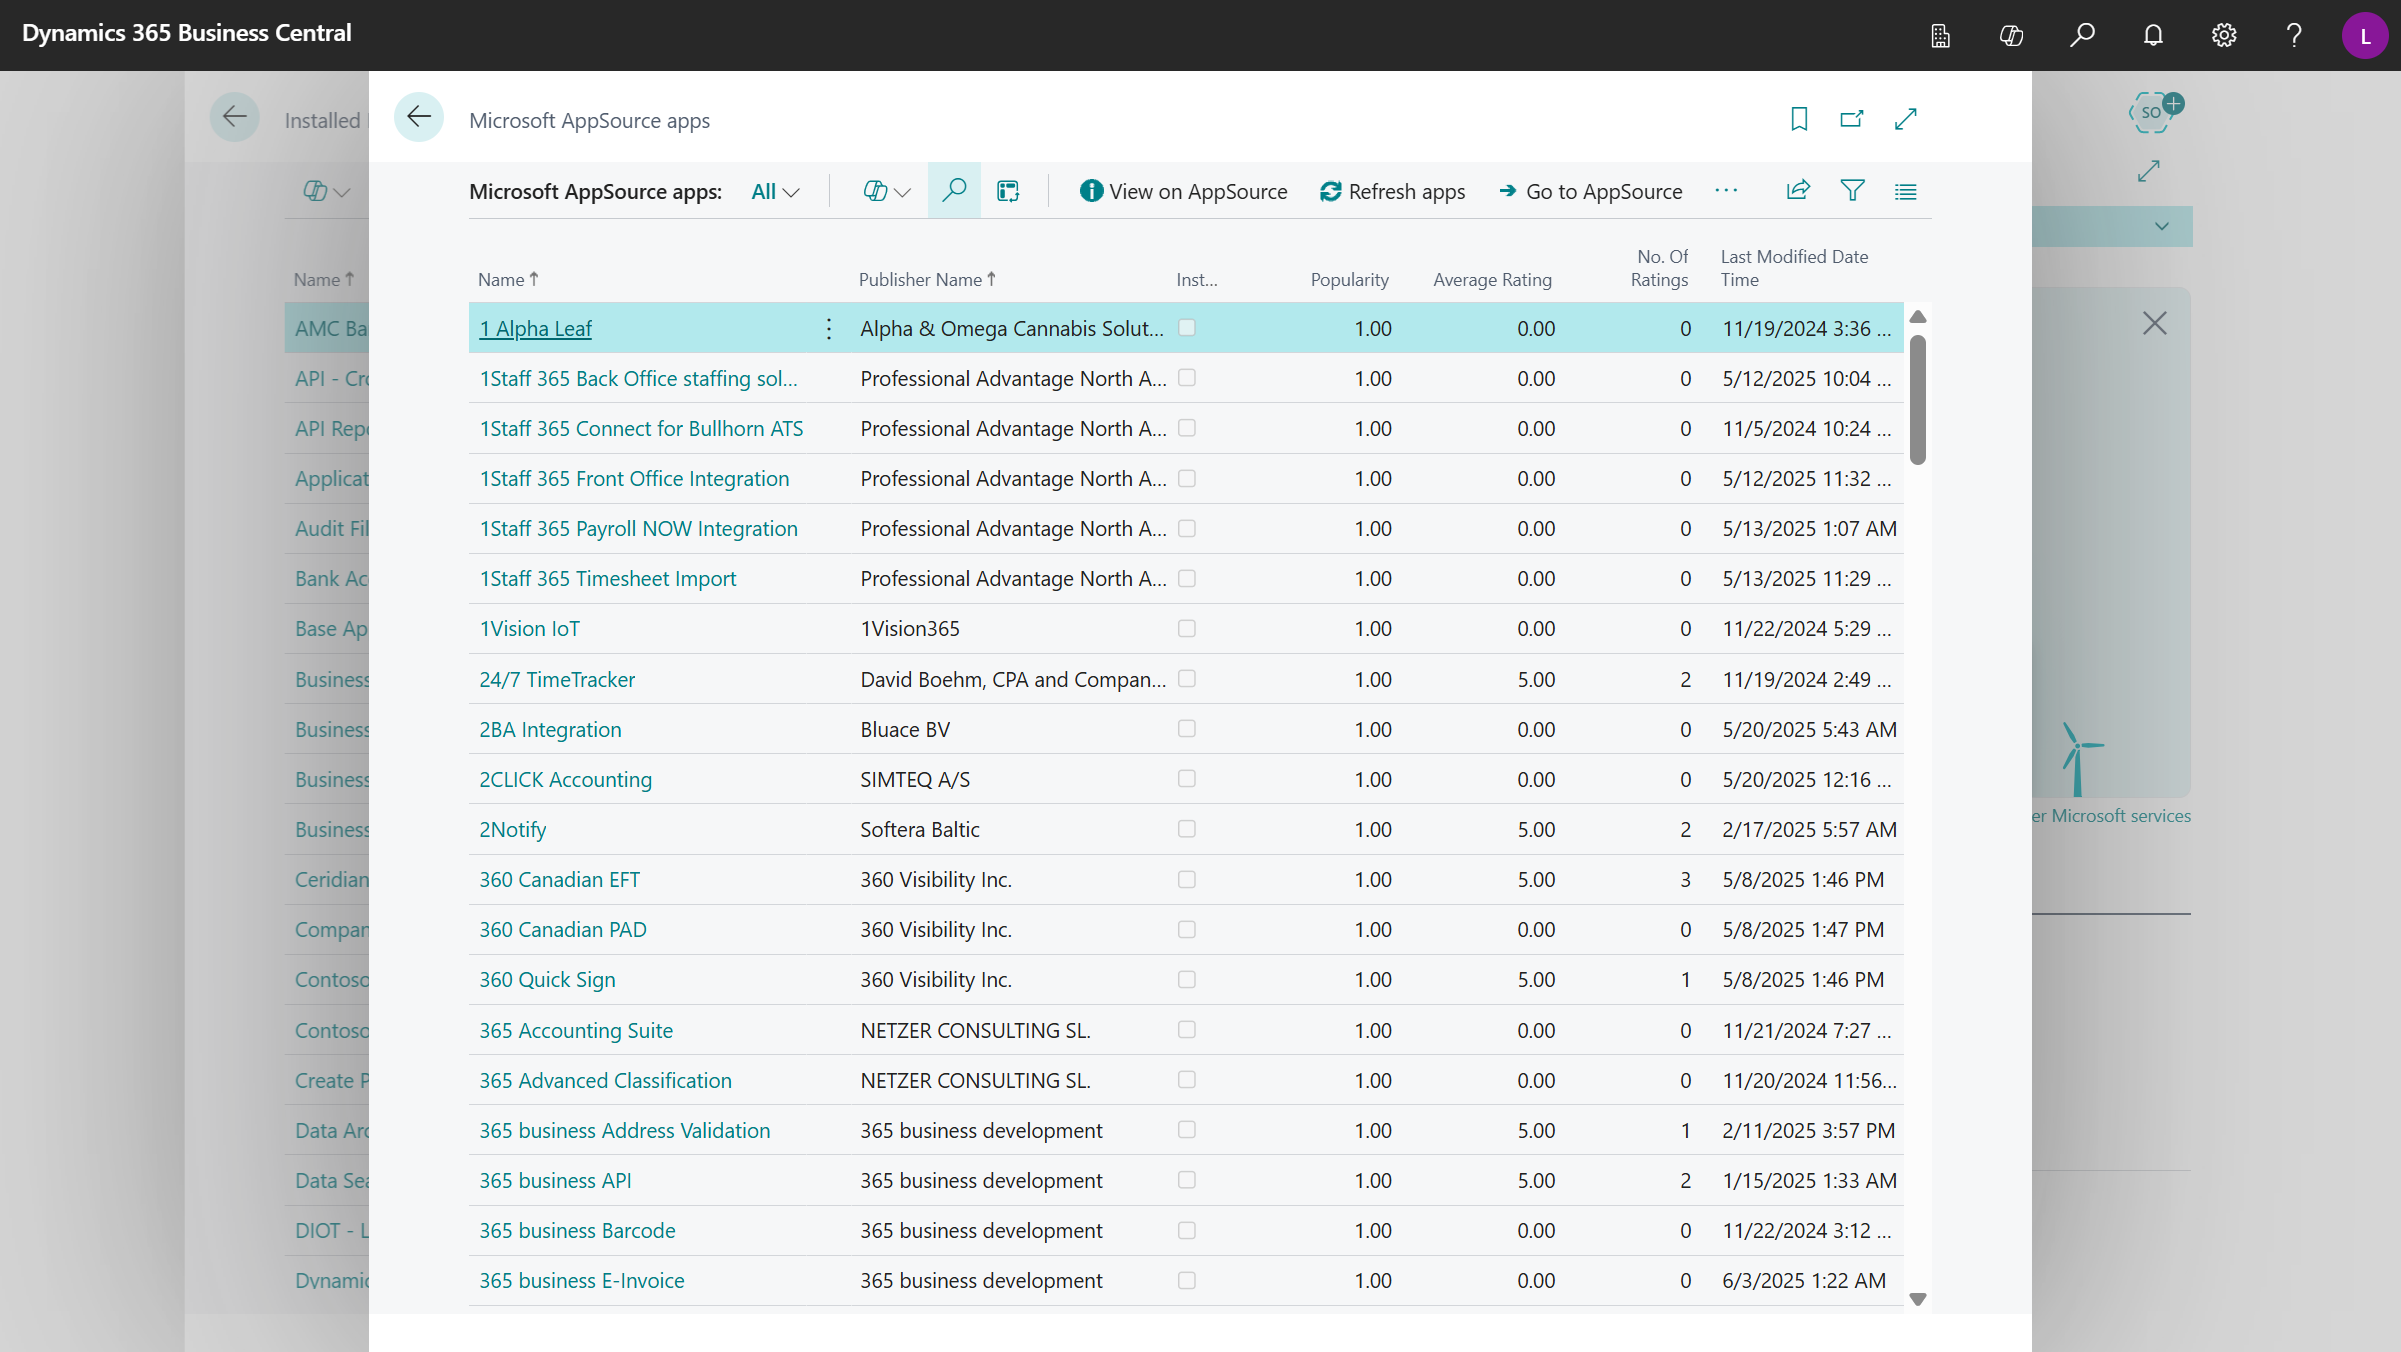
Search for Advanced Allocations App.
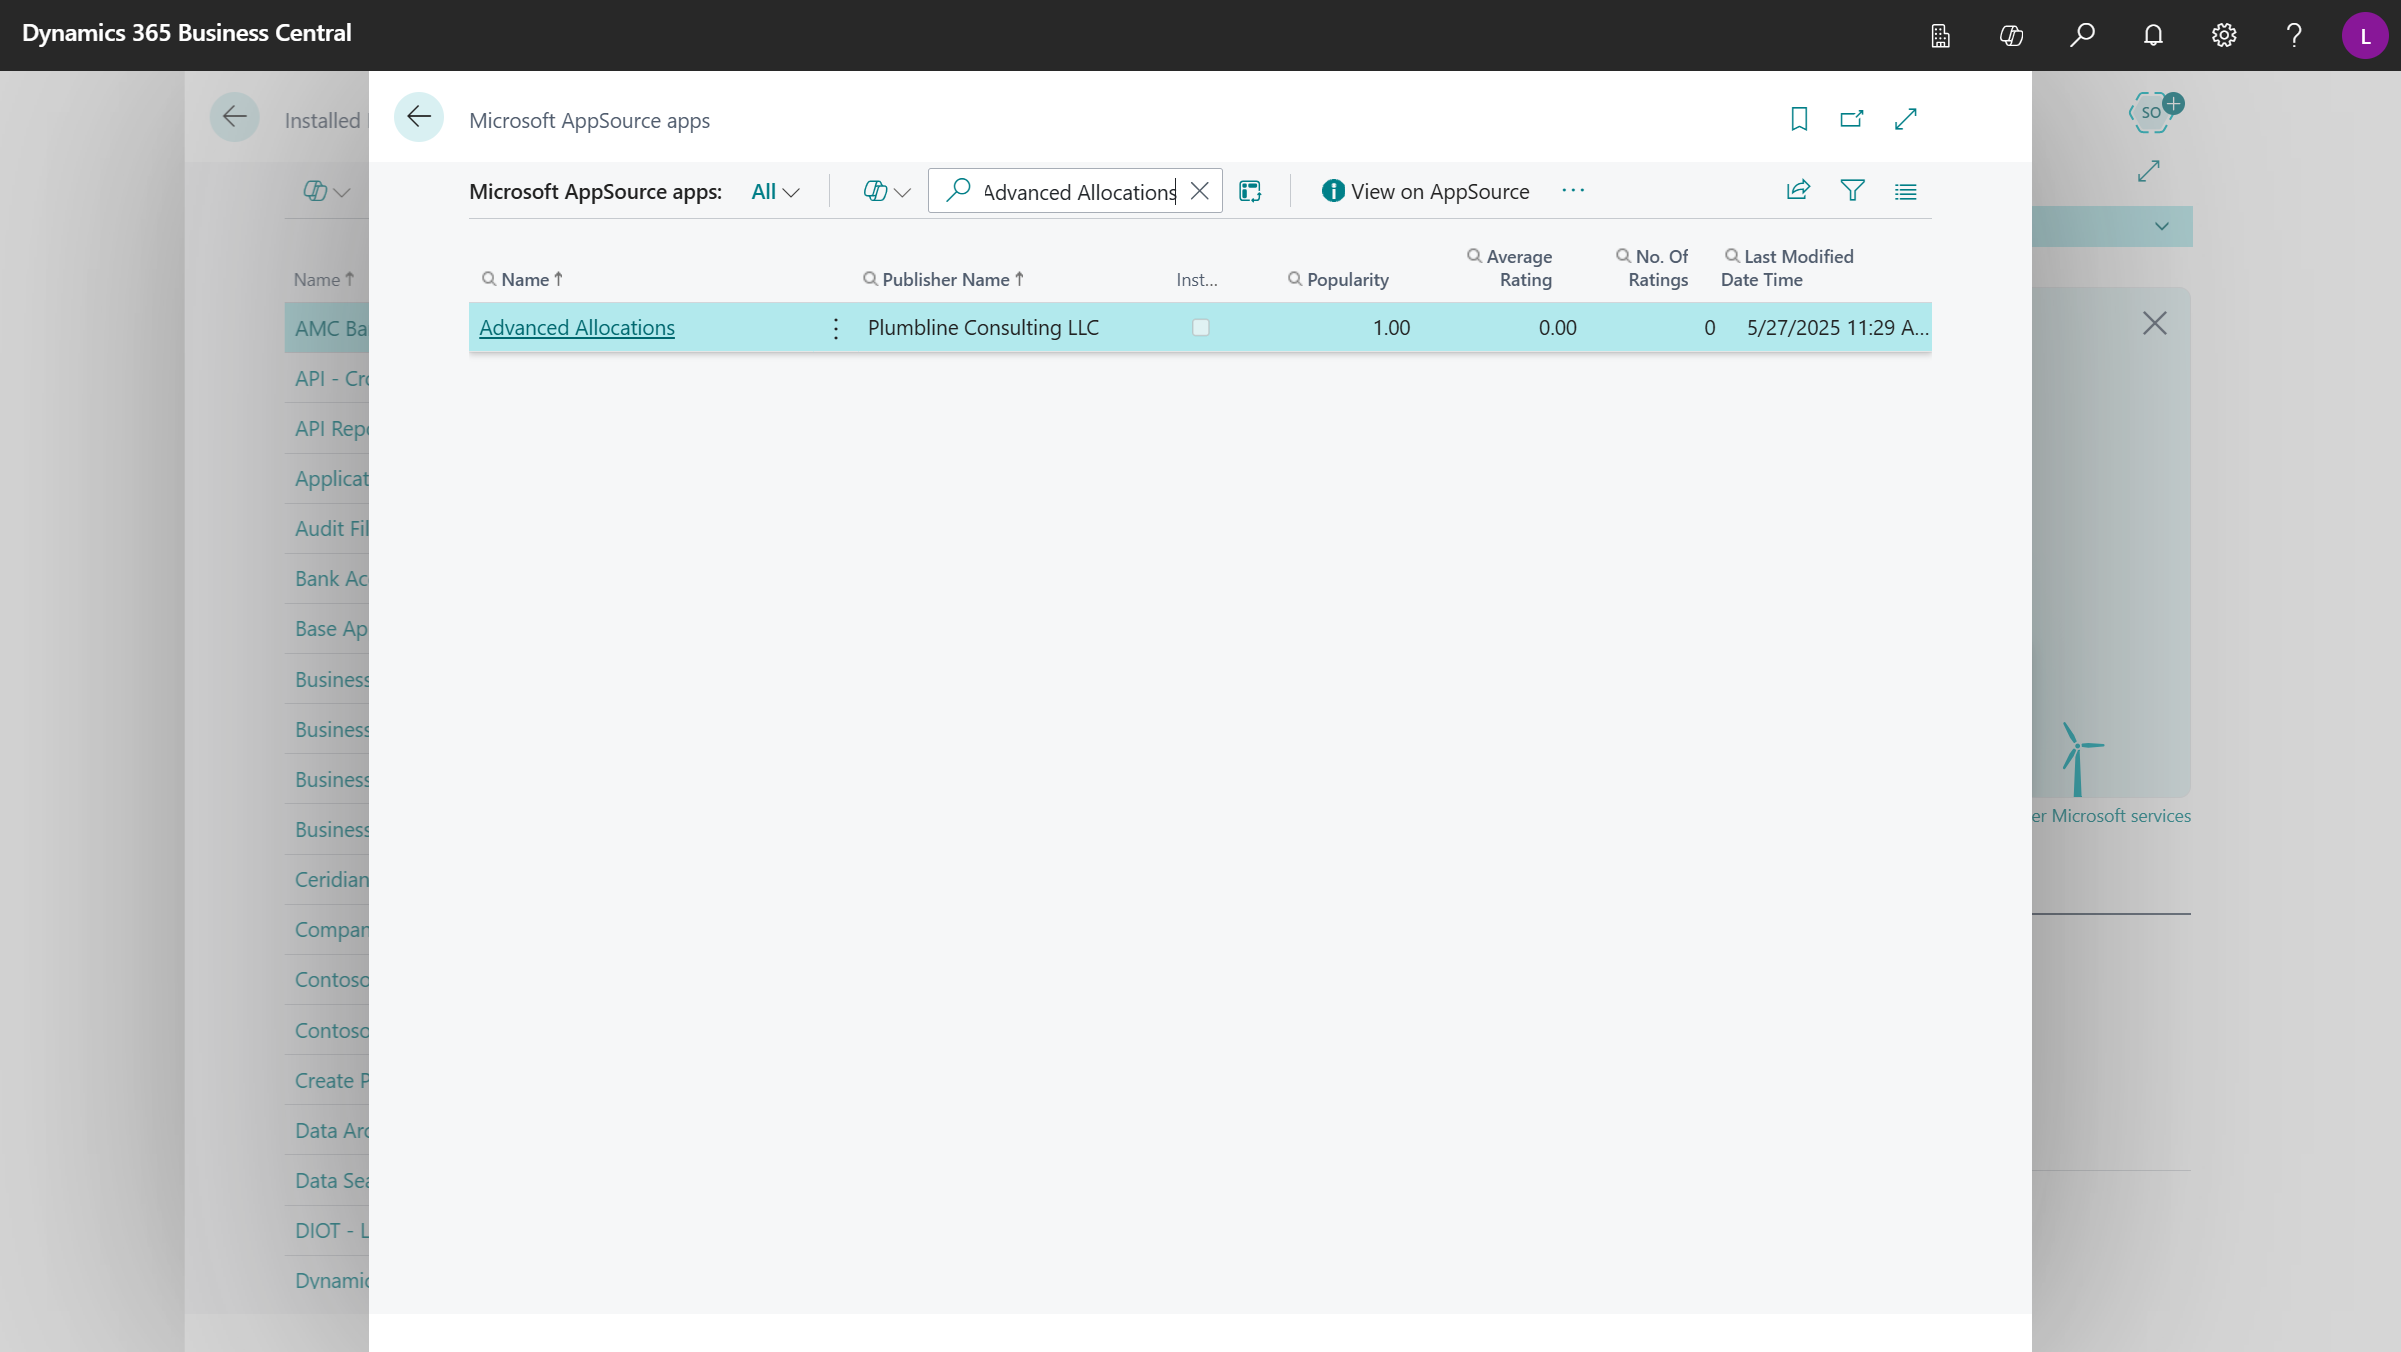
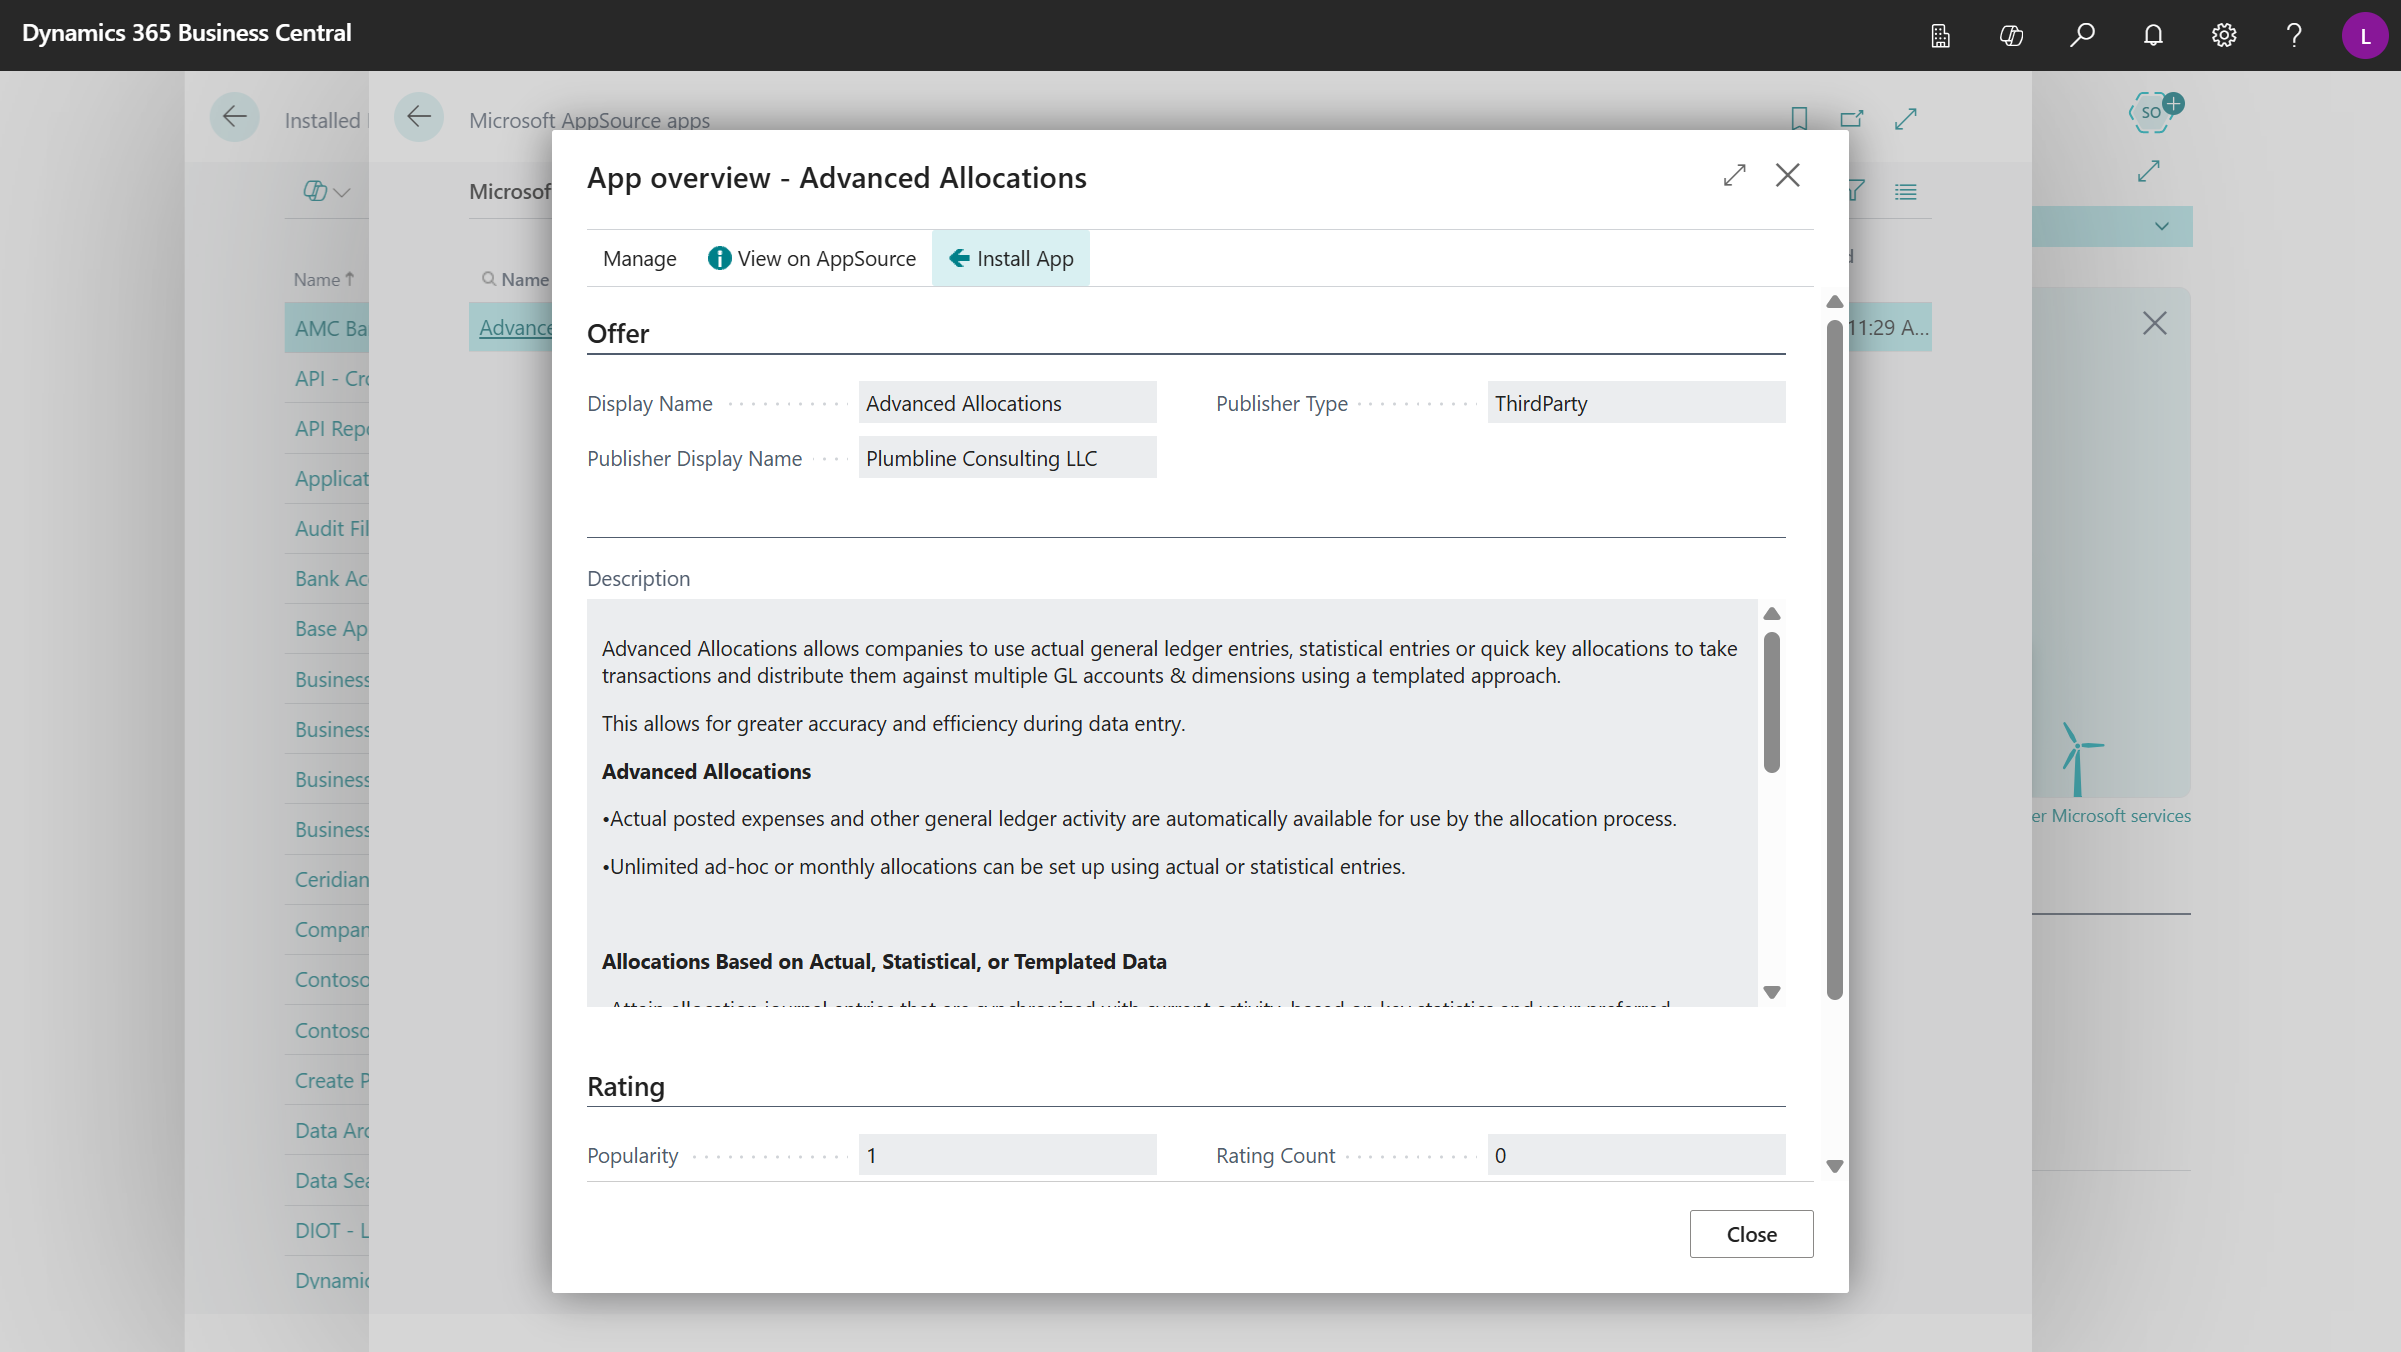
Select the app and in the page that opens, click Install App.
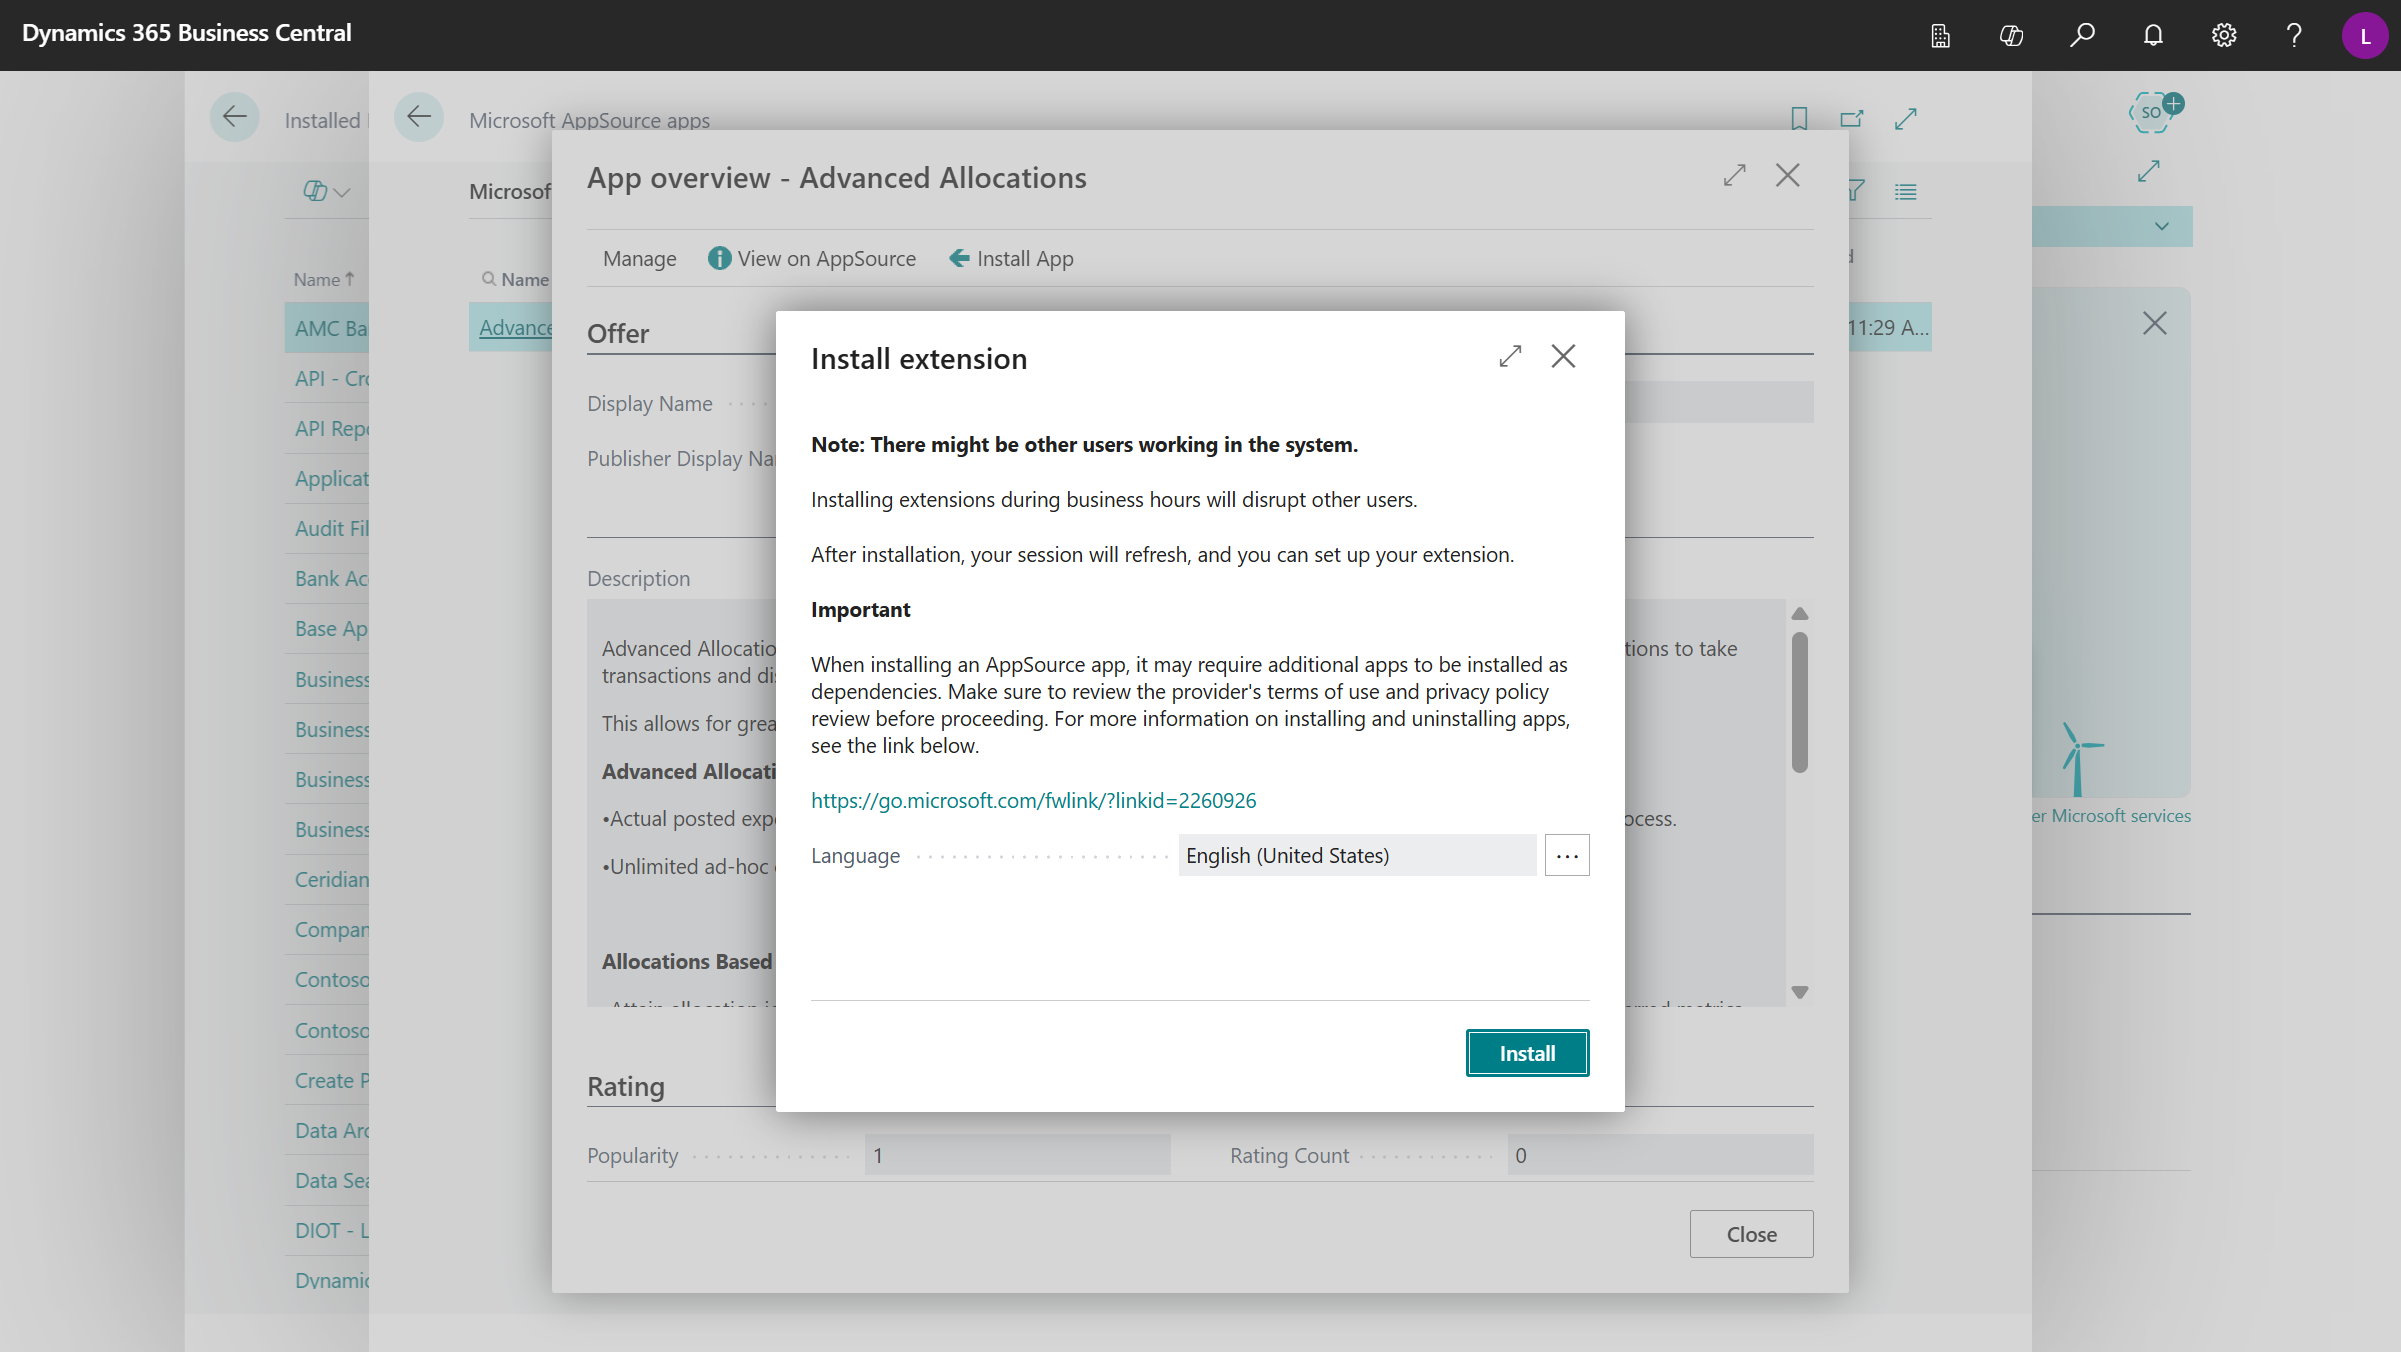
In the Install Extension page, click Install.
If you receive the following message, click Yes. The Registration process will proceed.
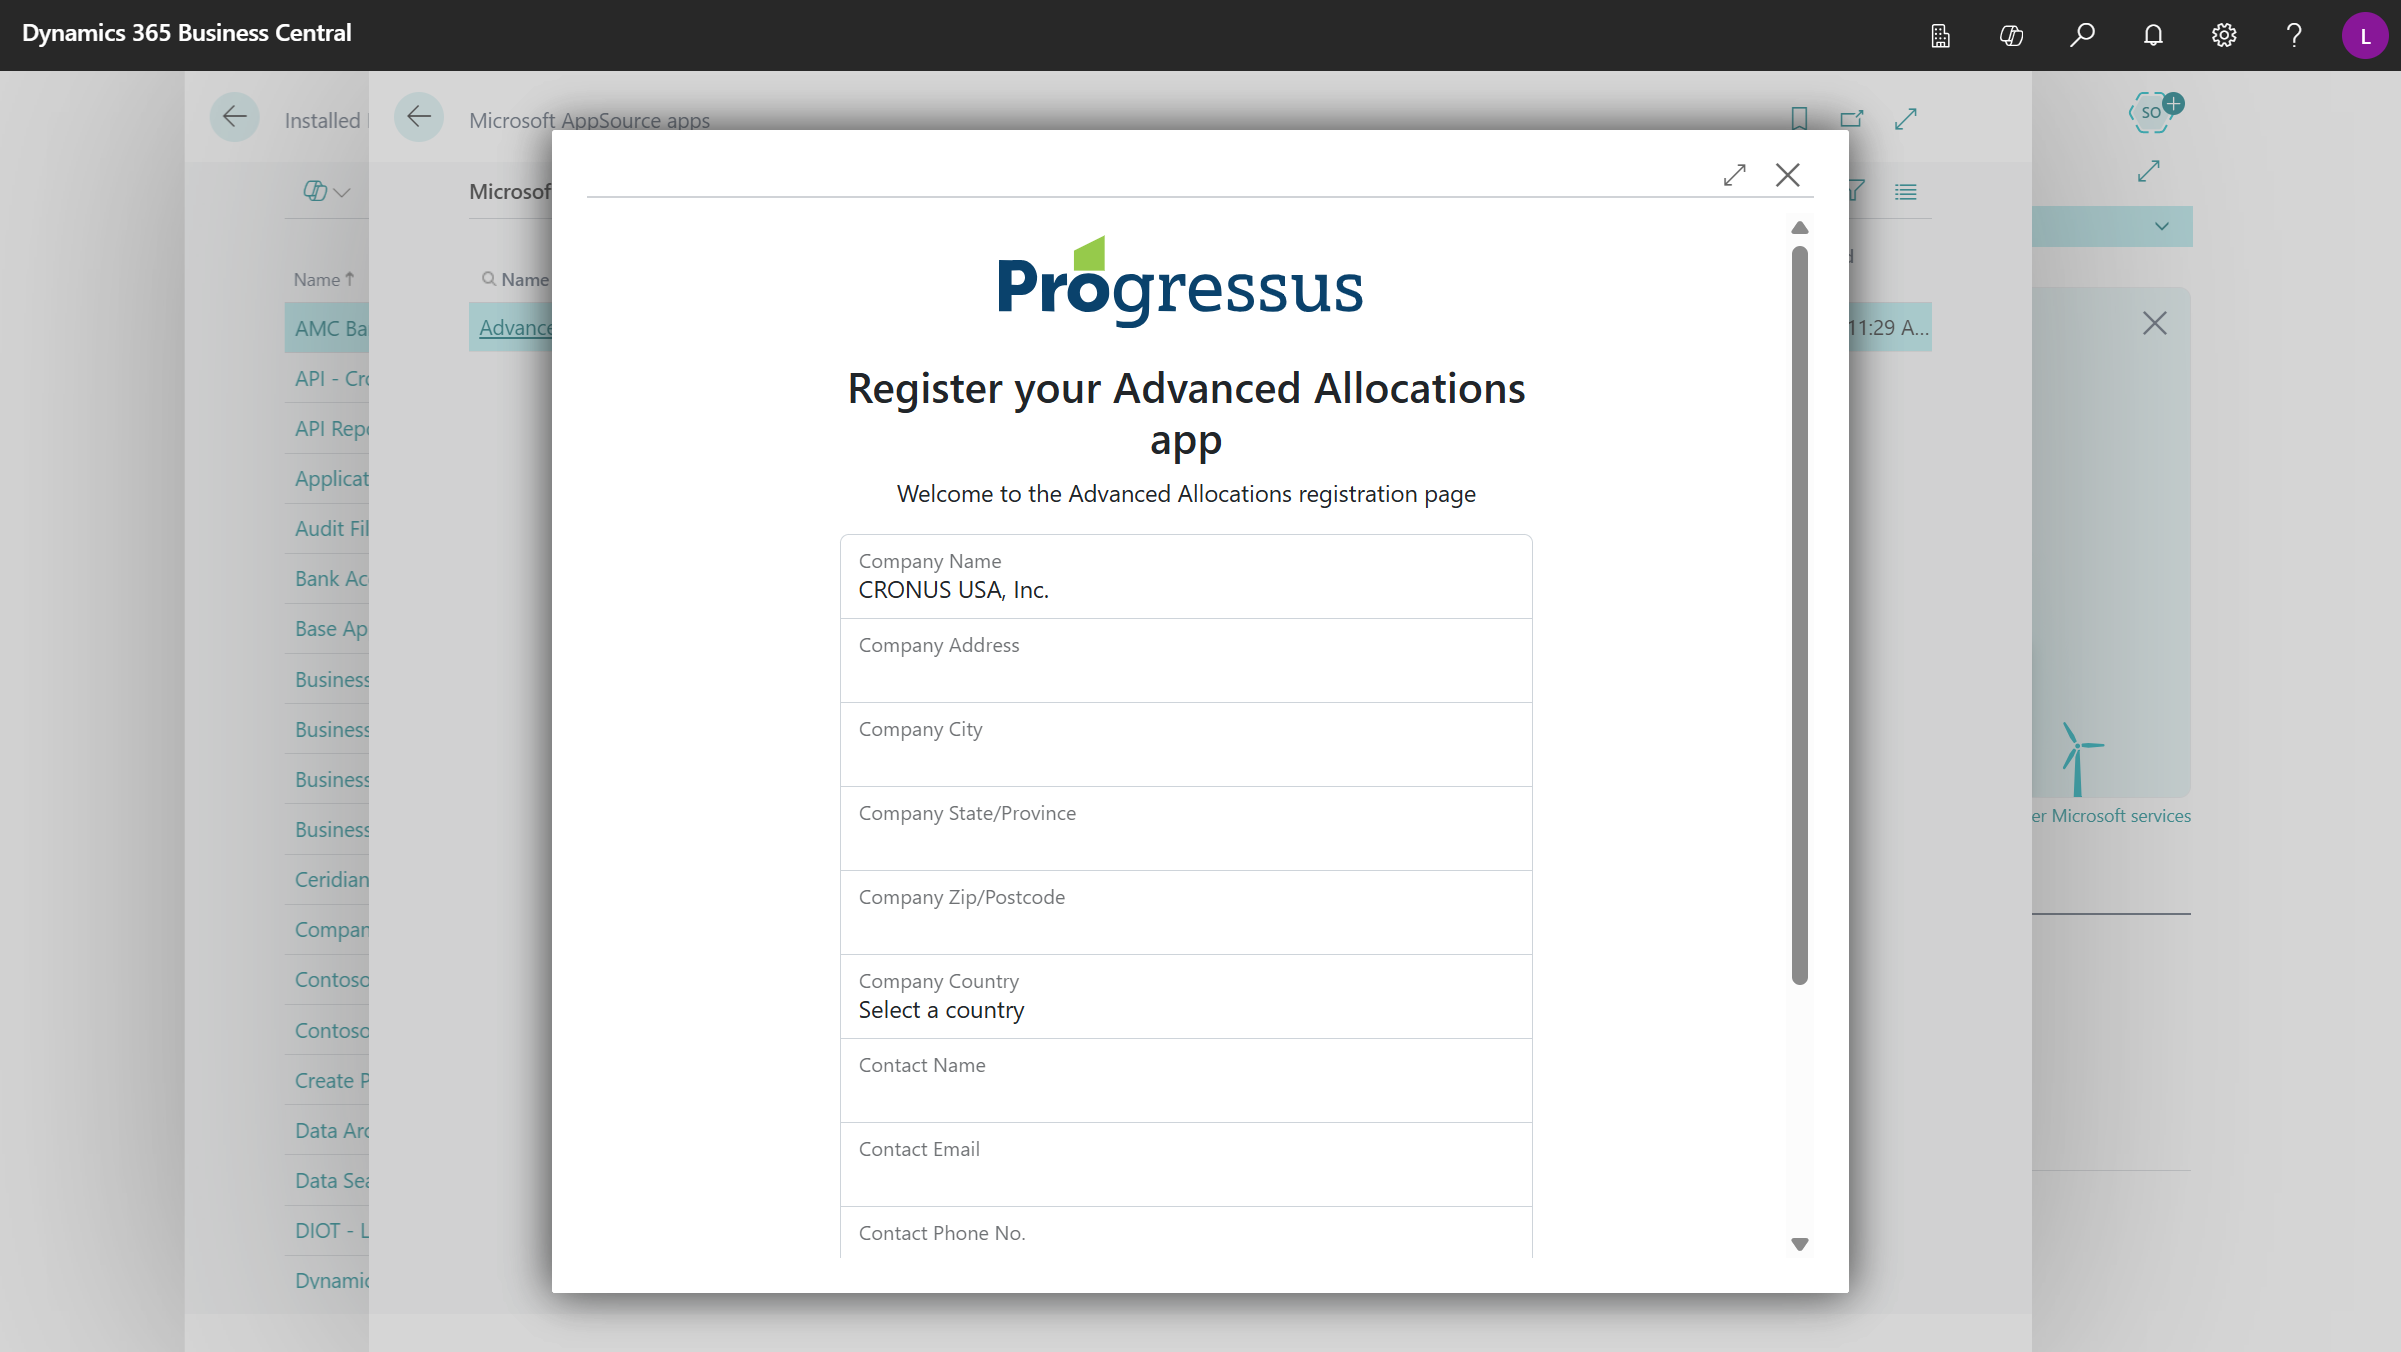
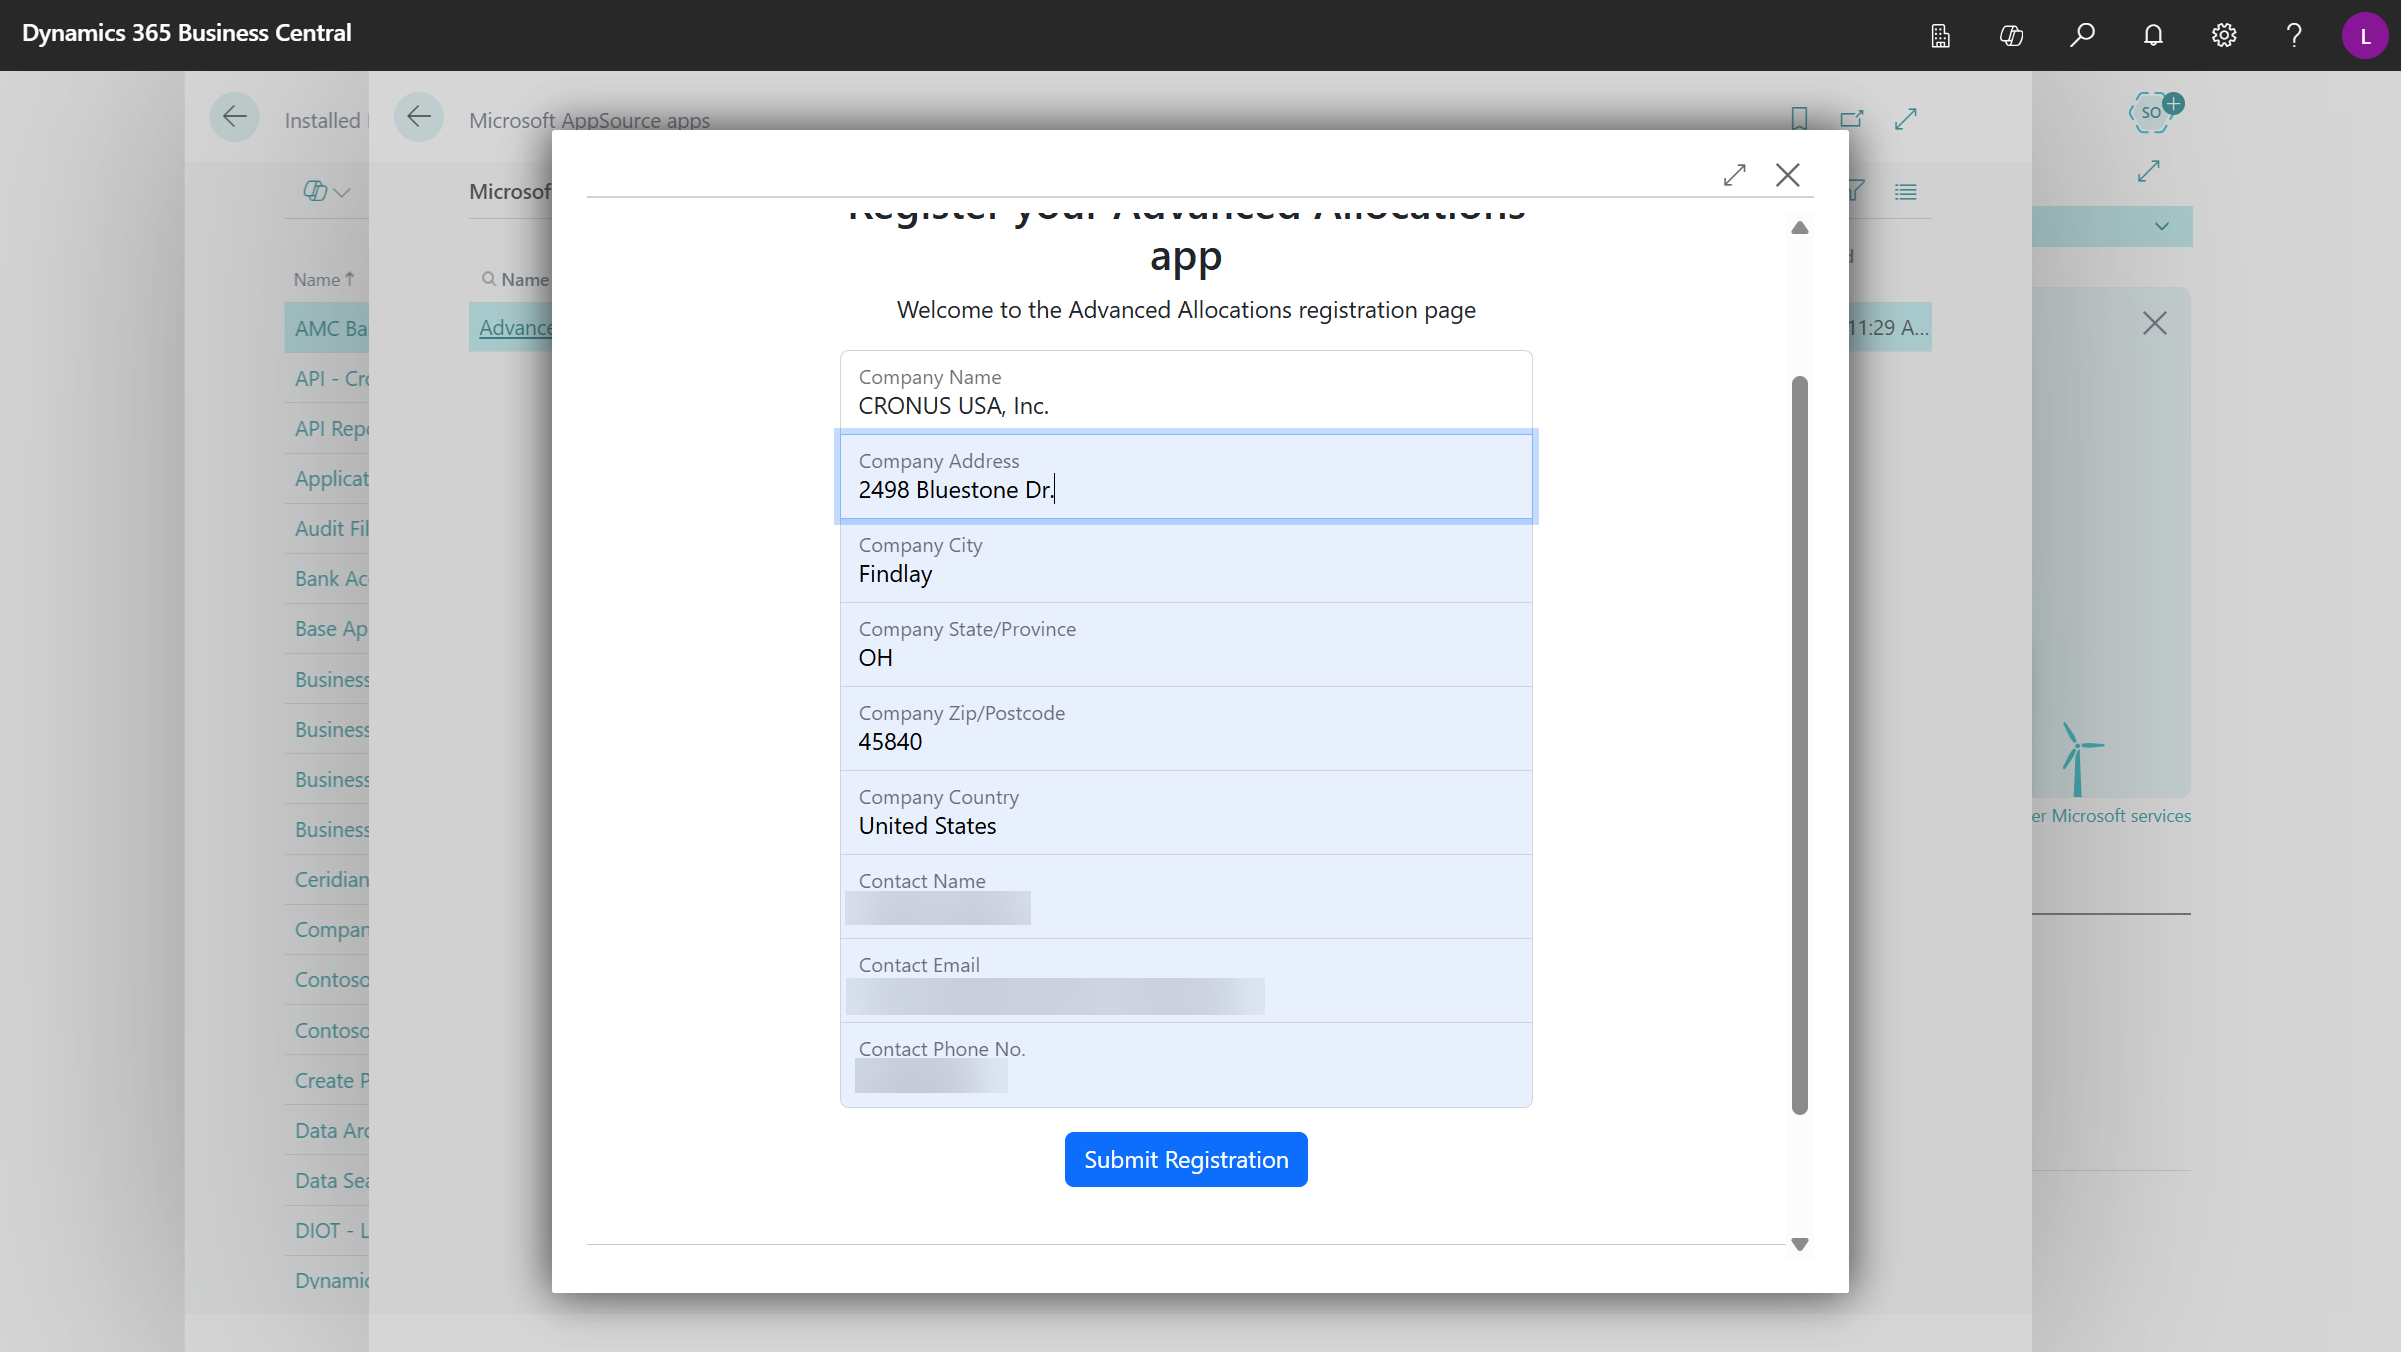
Complete the fields in the Register your Advanced Allocations app form, then click Submit Registration.
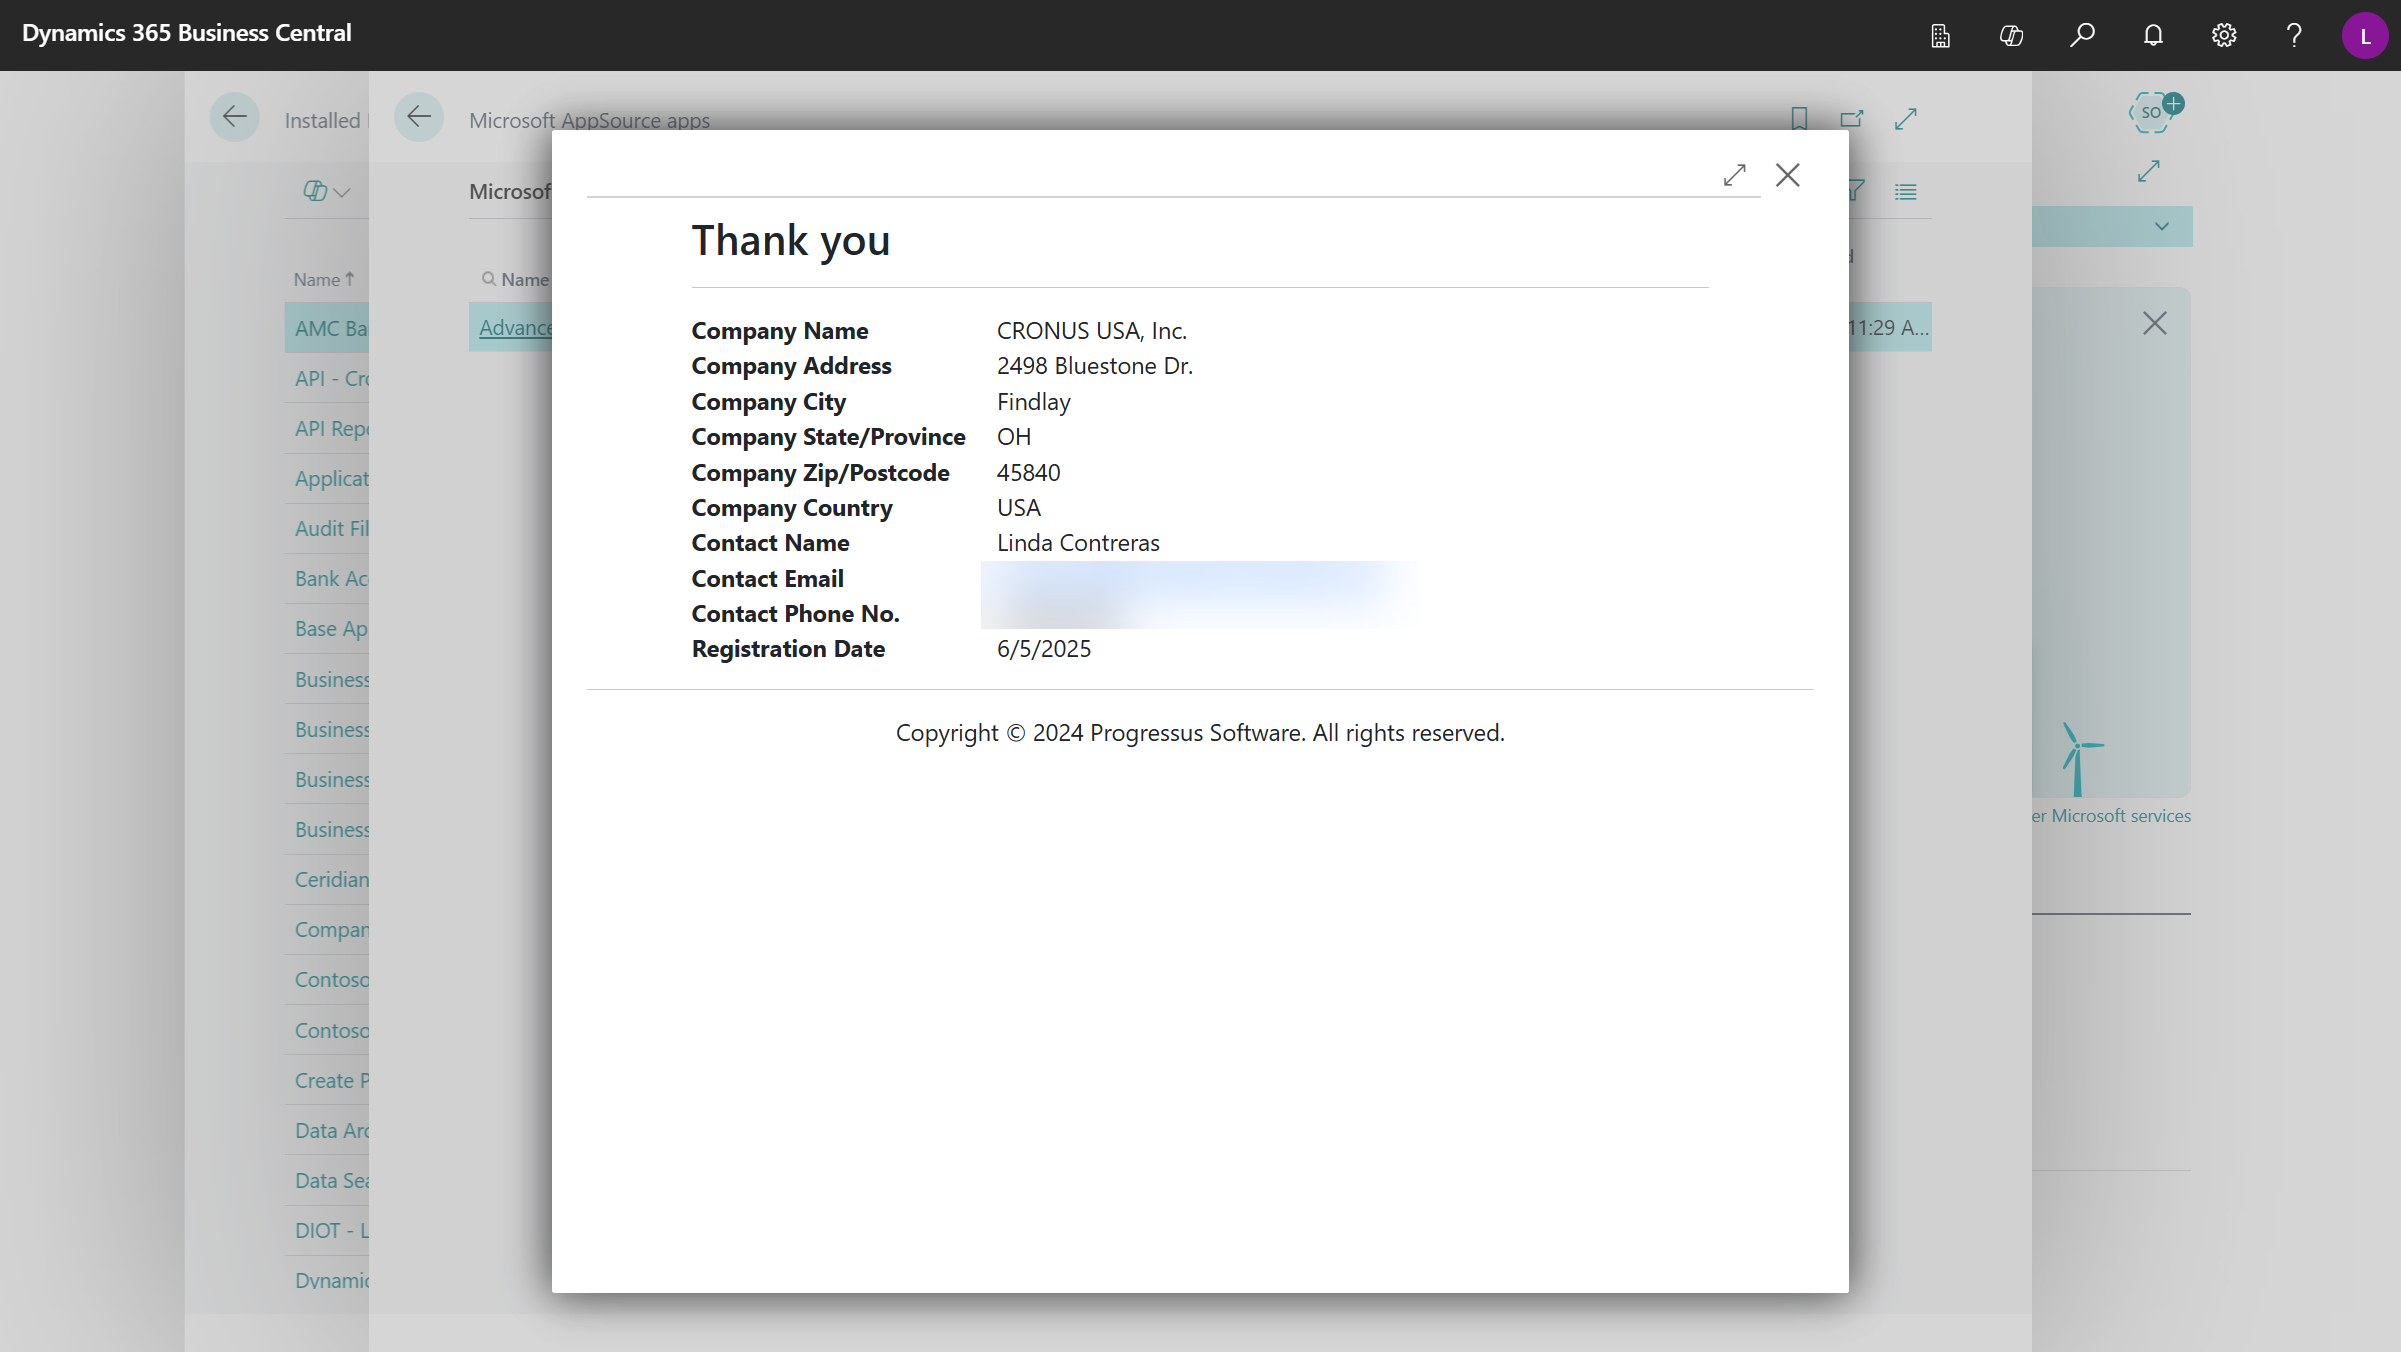
Click X to close the Thank you page.
Click OK to message "Advanced Allocations has been successfully registered!"

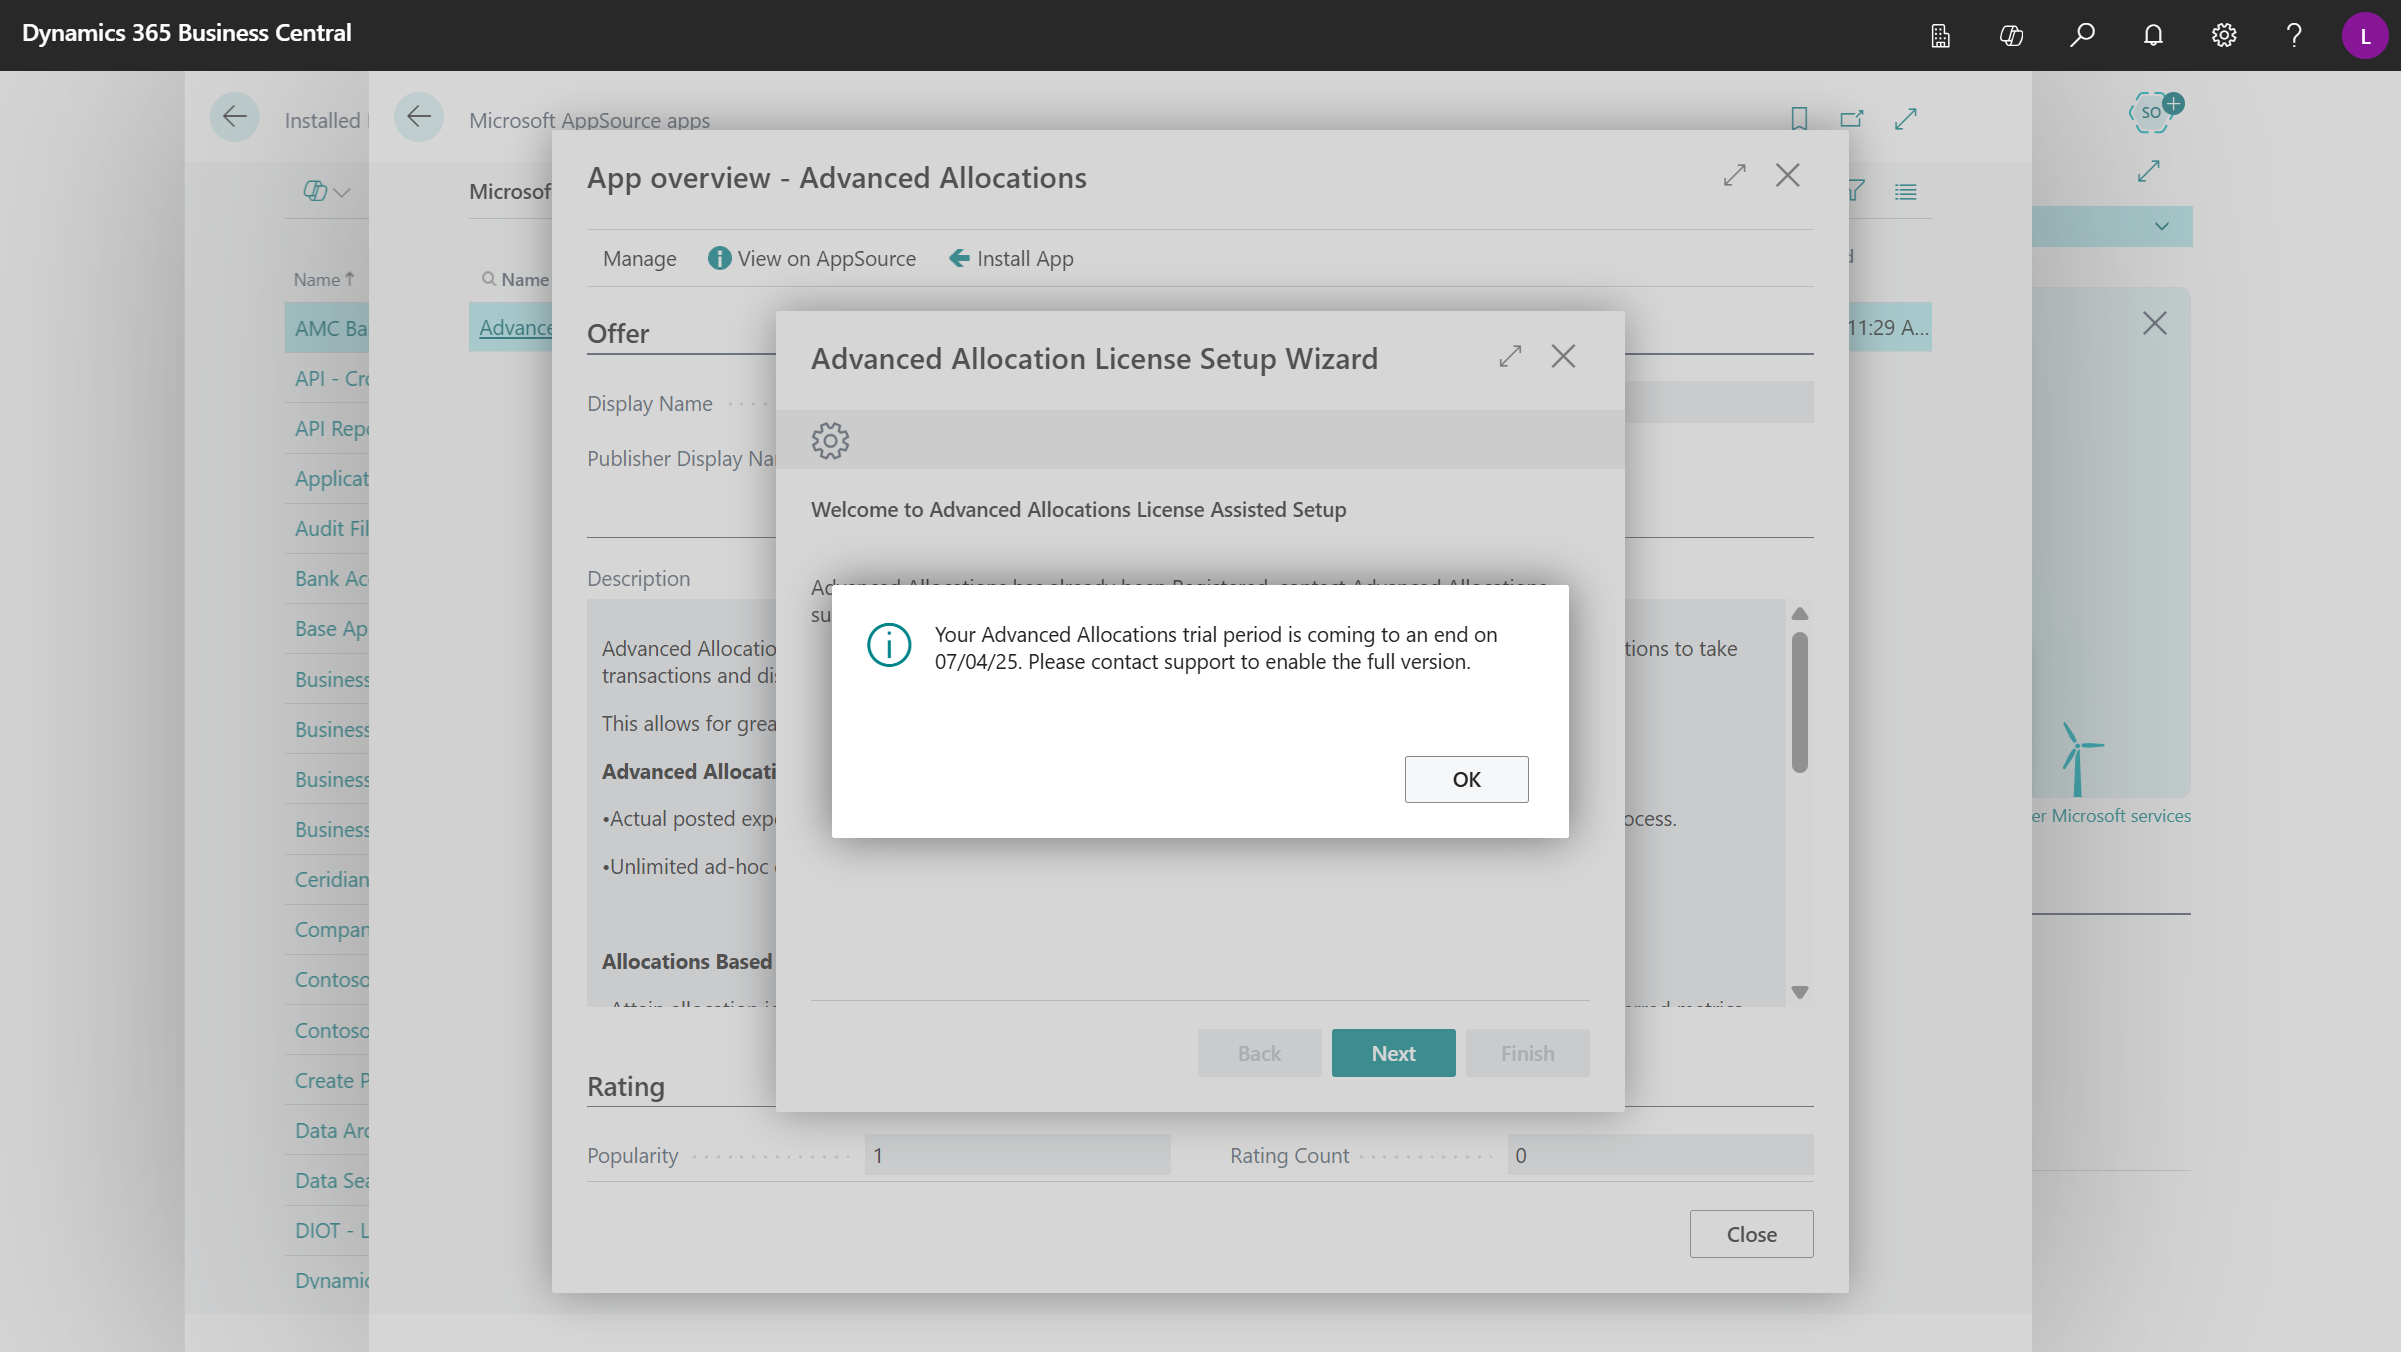
Click OK to message "Your Advanced Allocations trial period is coming to an end on xx/xx/xxxx. Please contact support to enable the full version."
Important
Contact the selling organization you are working with to purchase the Advanced Allocations module and extend use beyond the Trial Period Expiration Date.
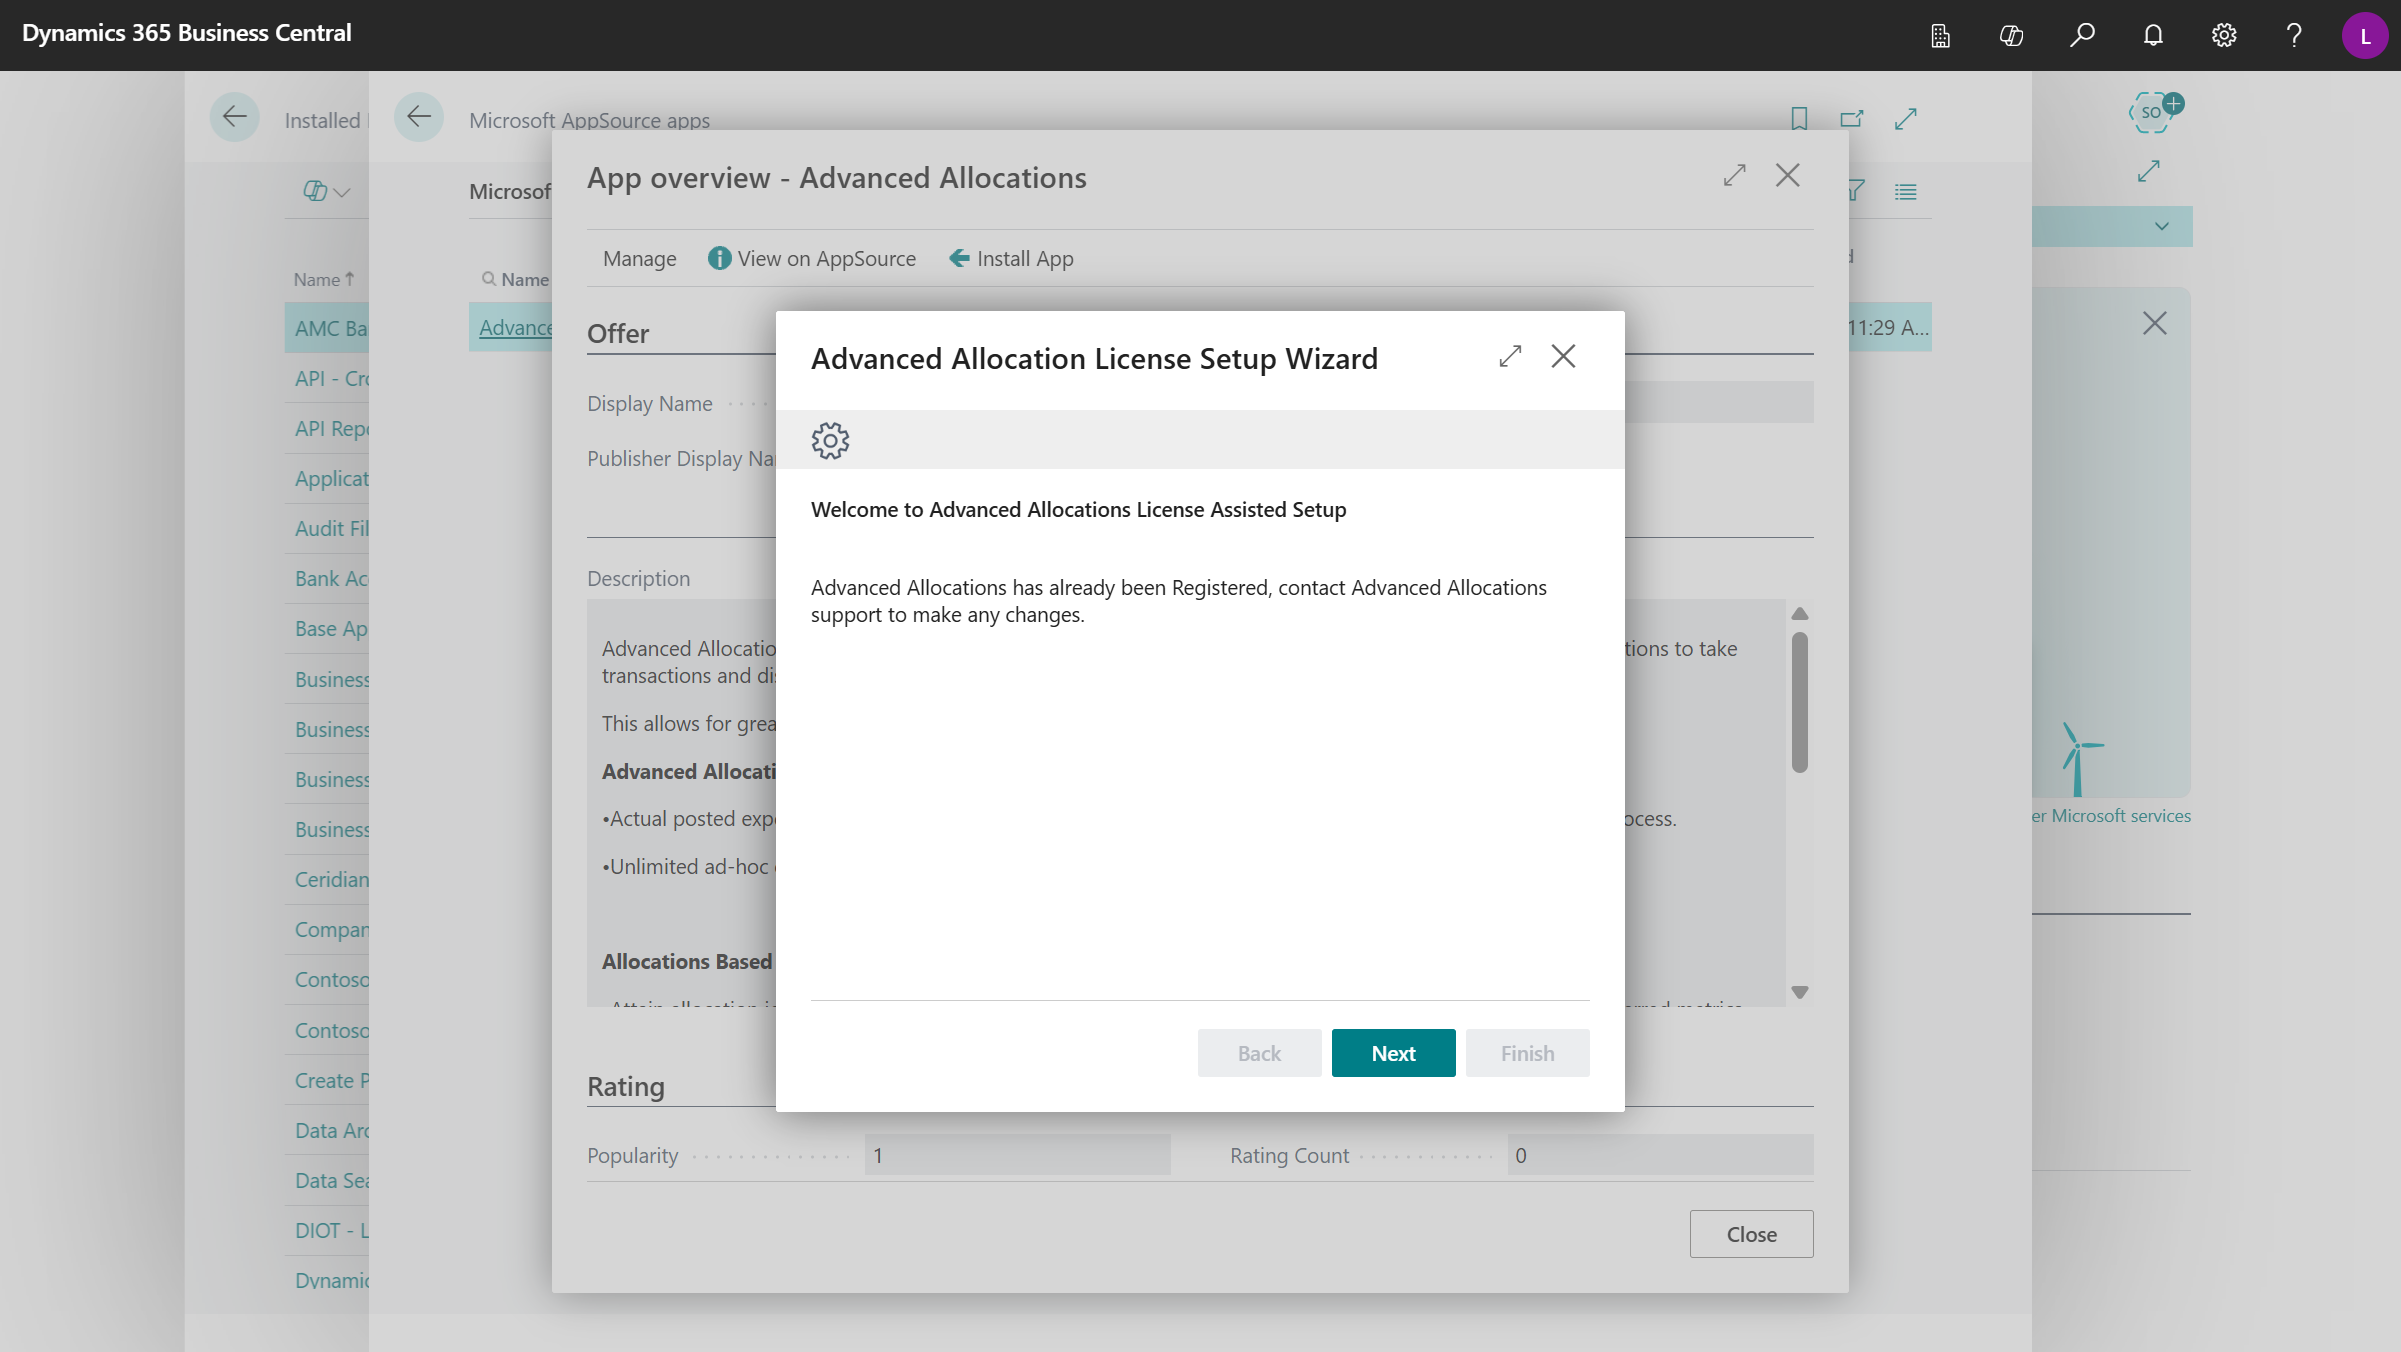
Click Next to the message "Advanced Allocations has already been Registered, contact Advanced Allocations support to make any changes."
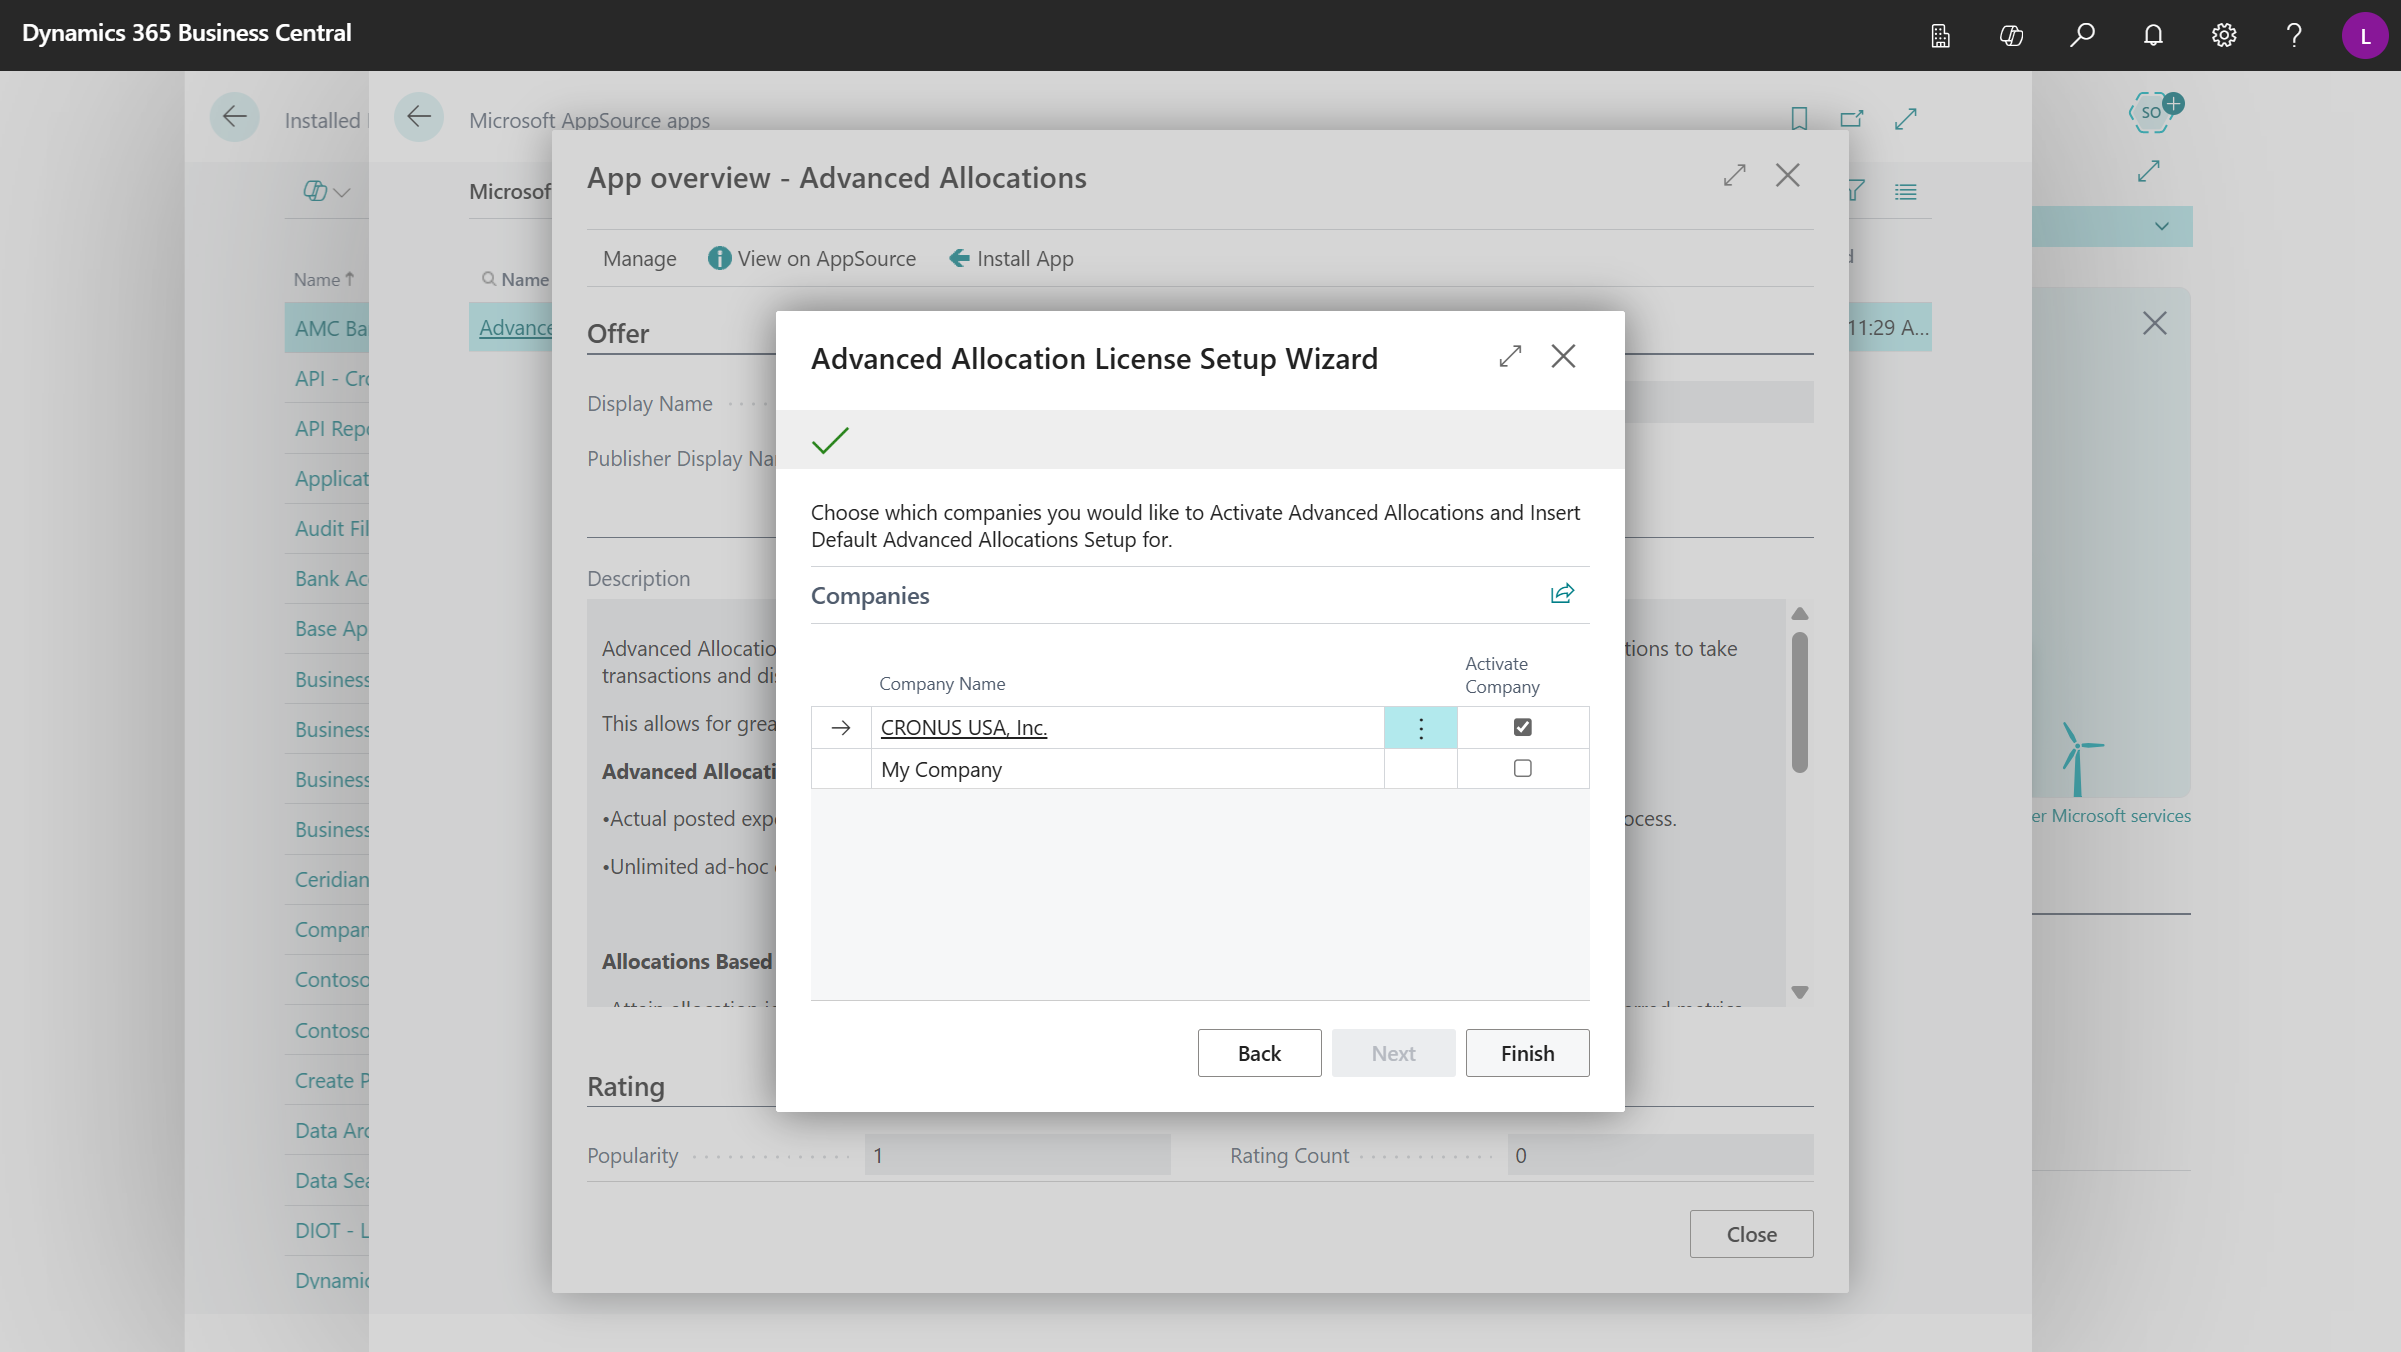
Select the Activate Company checkbox for any companies that need to have Advanced Allocations activated. Then click Finish.
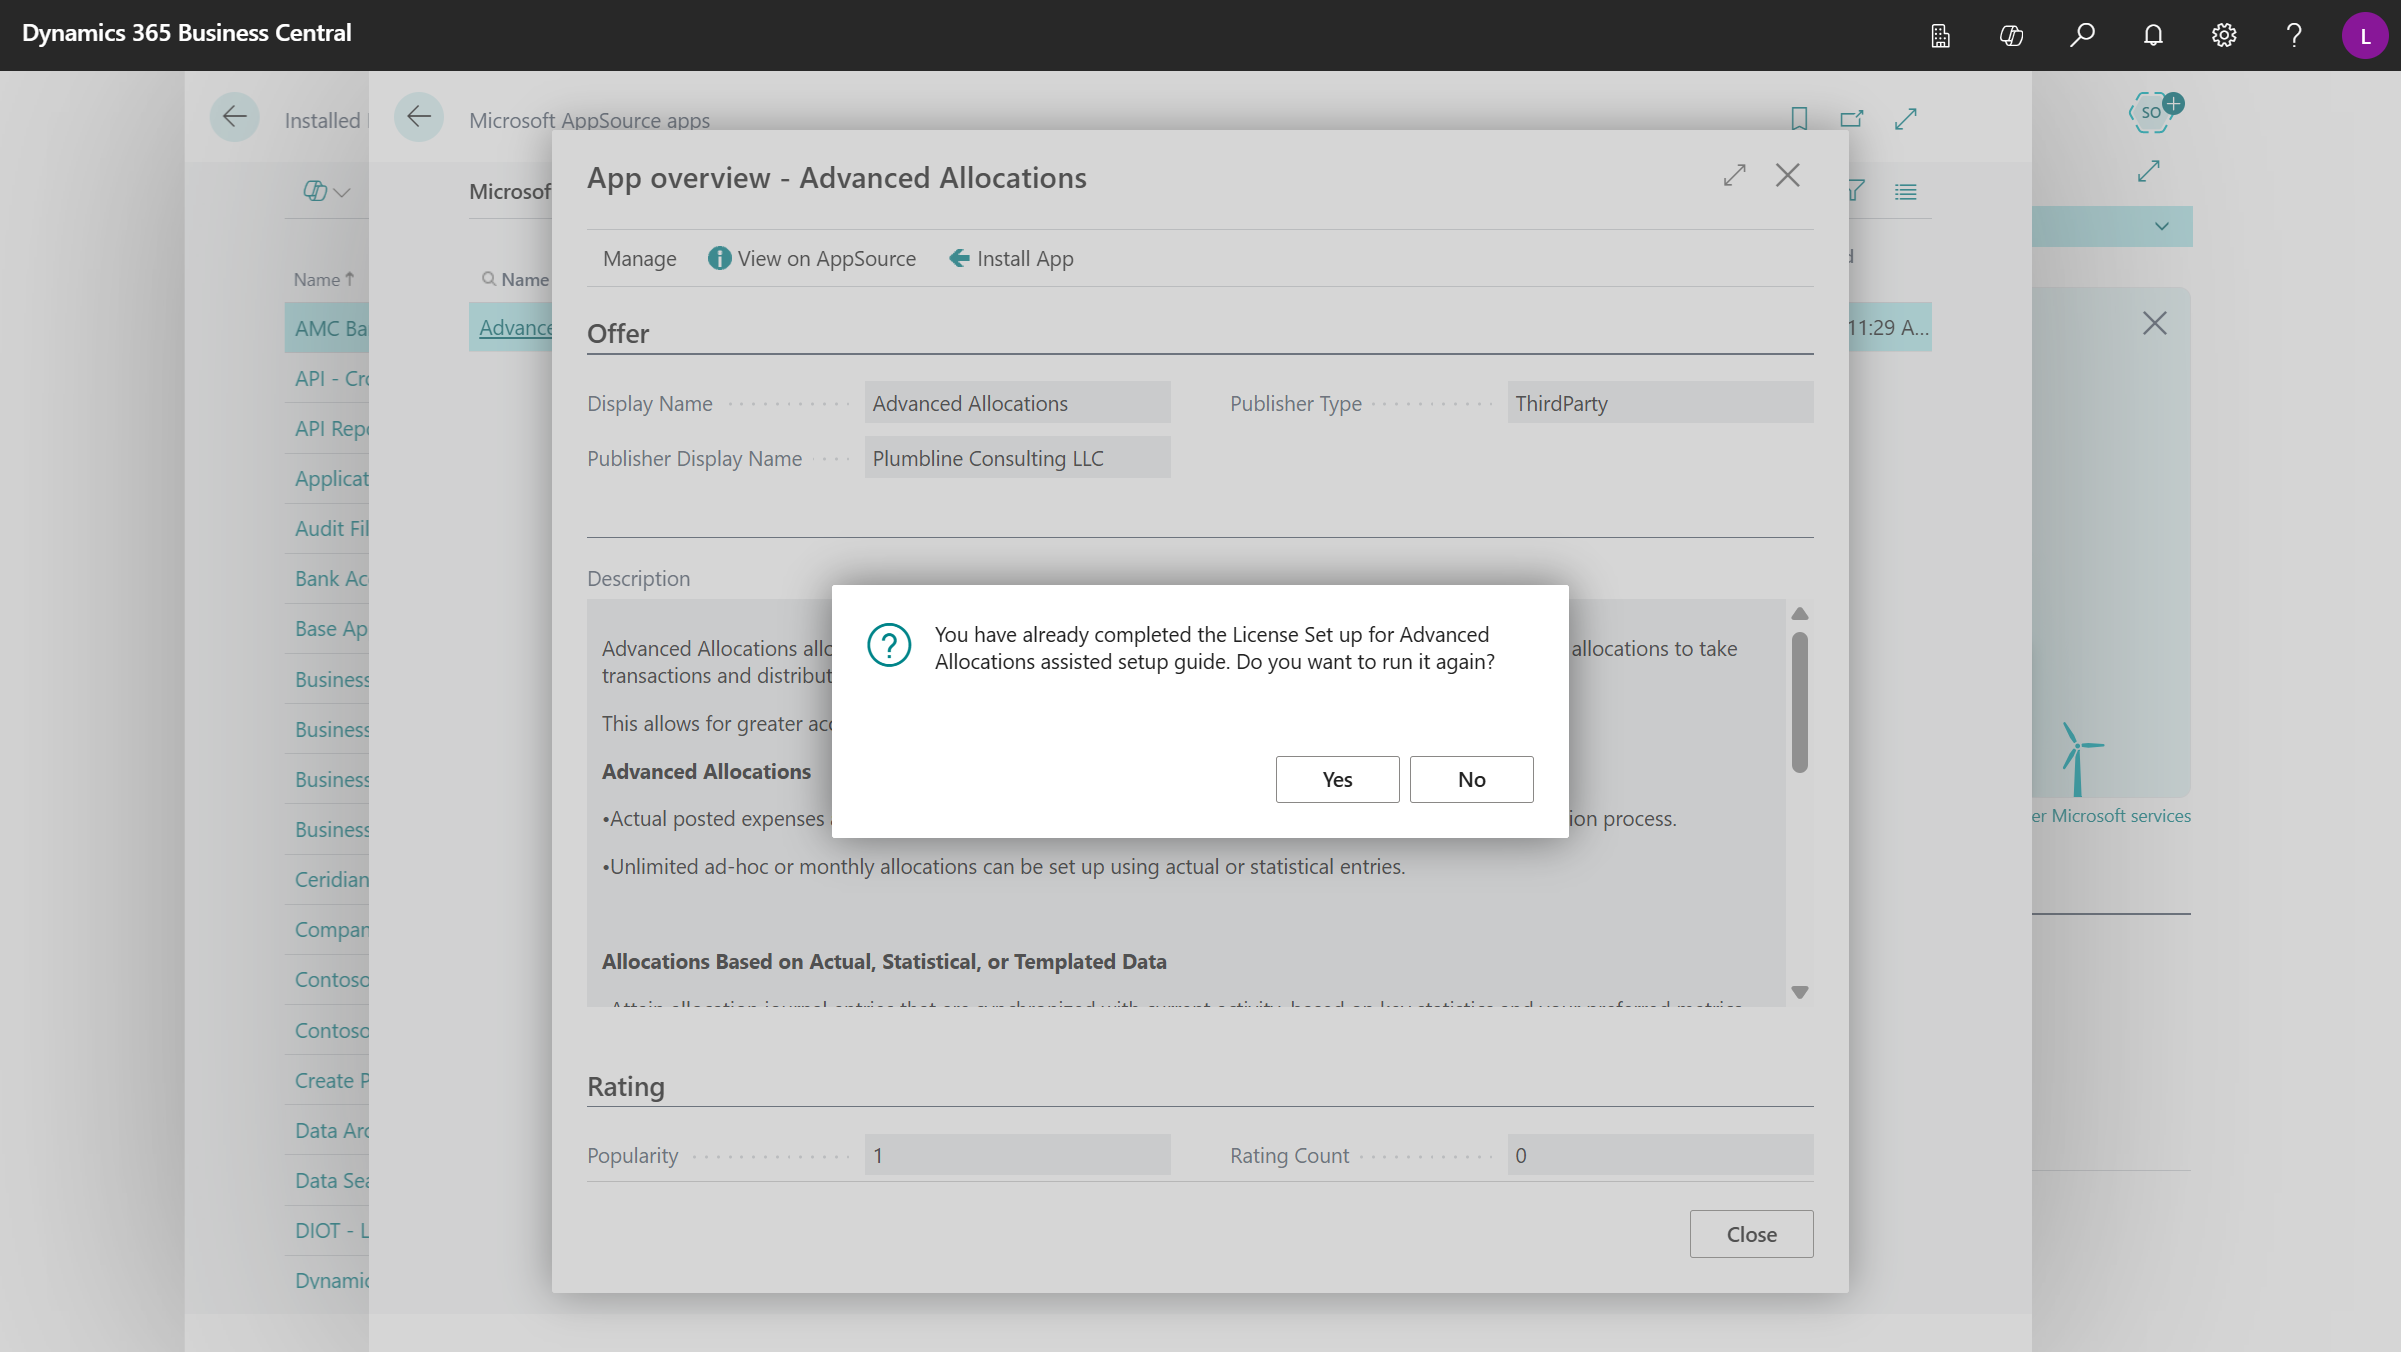
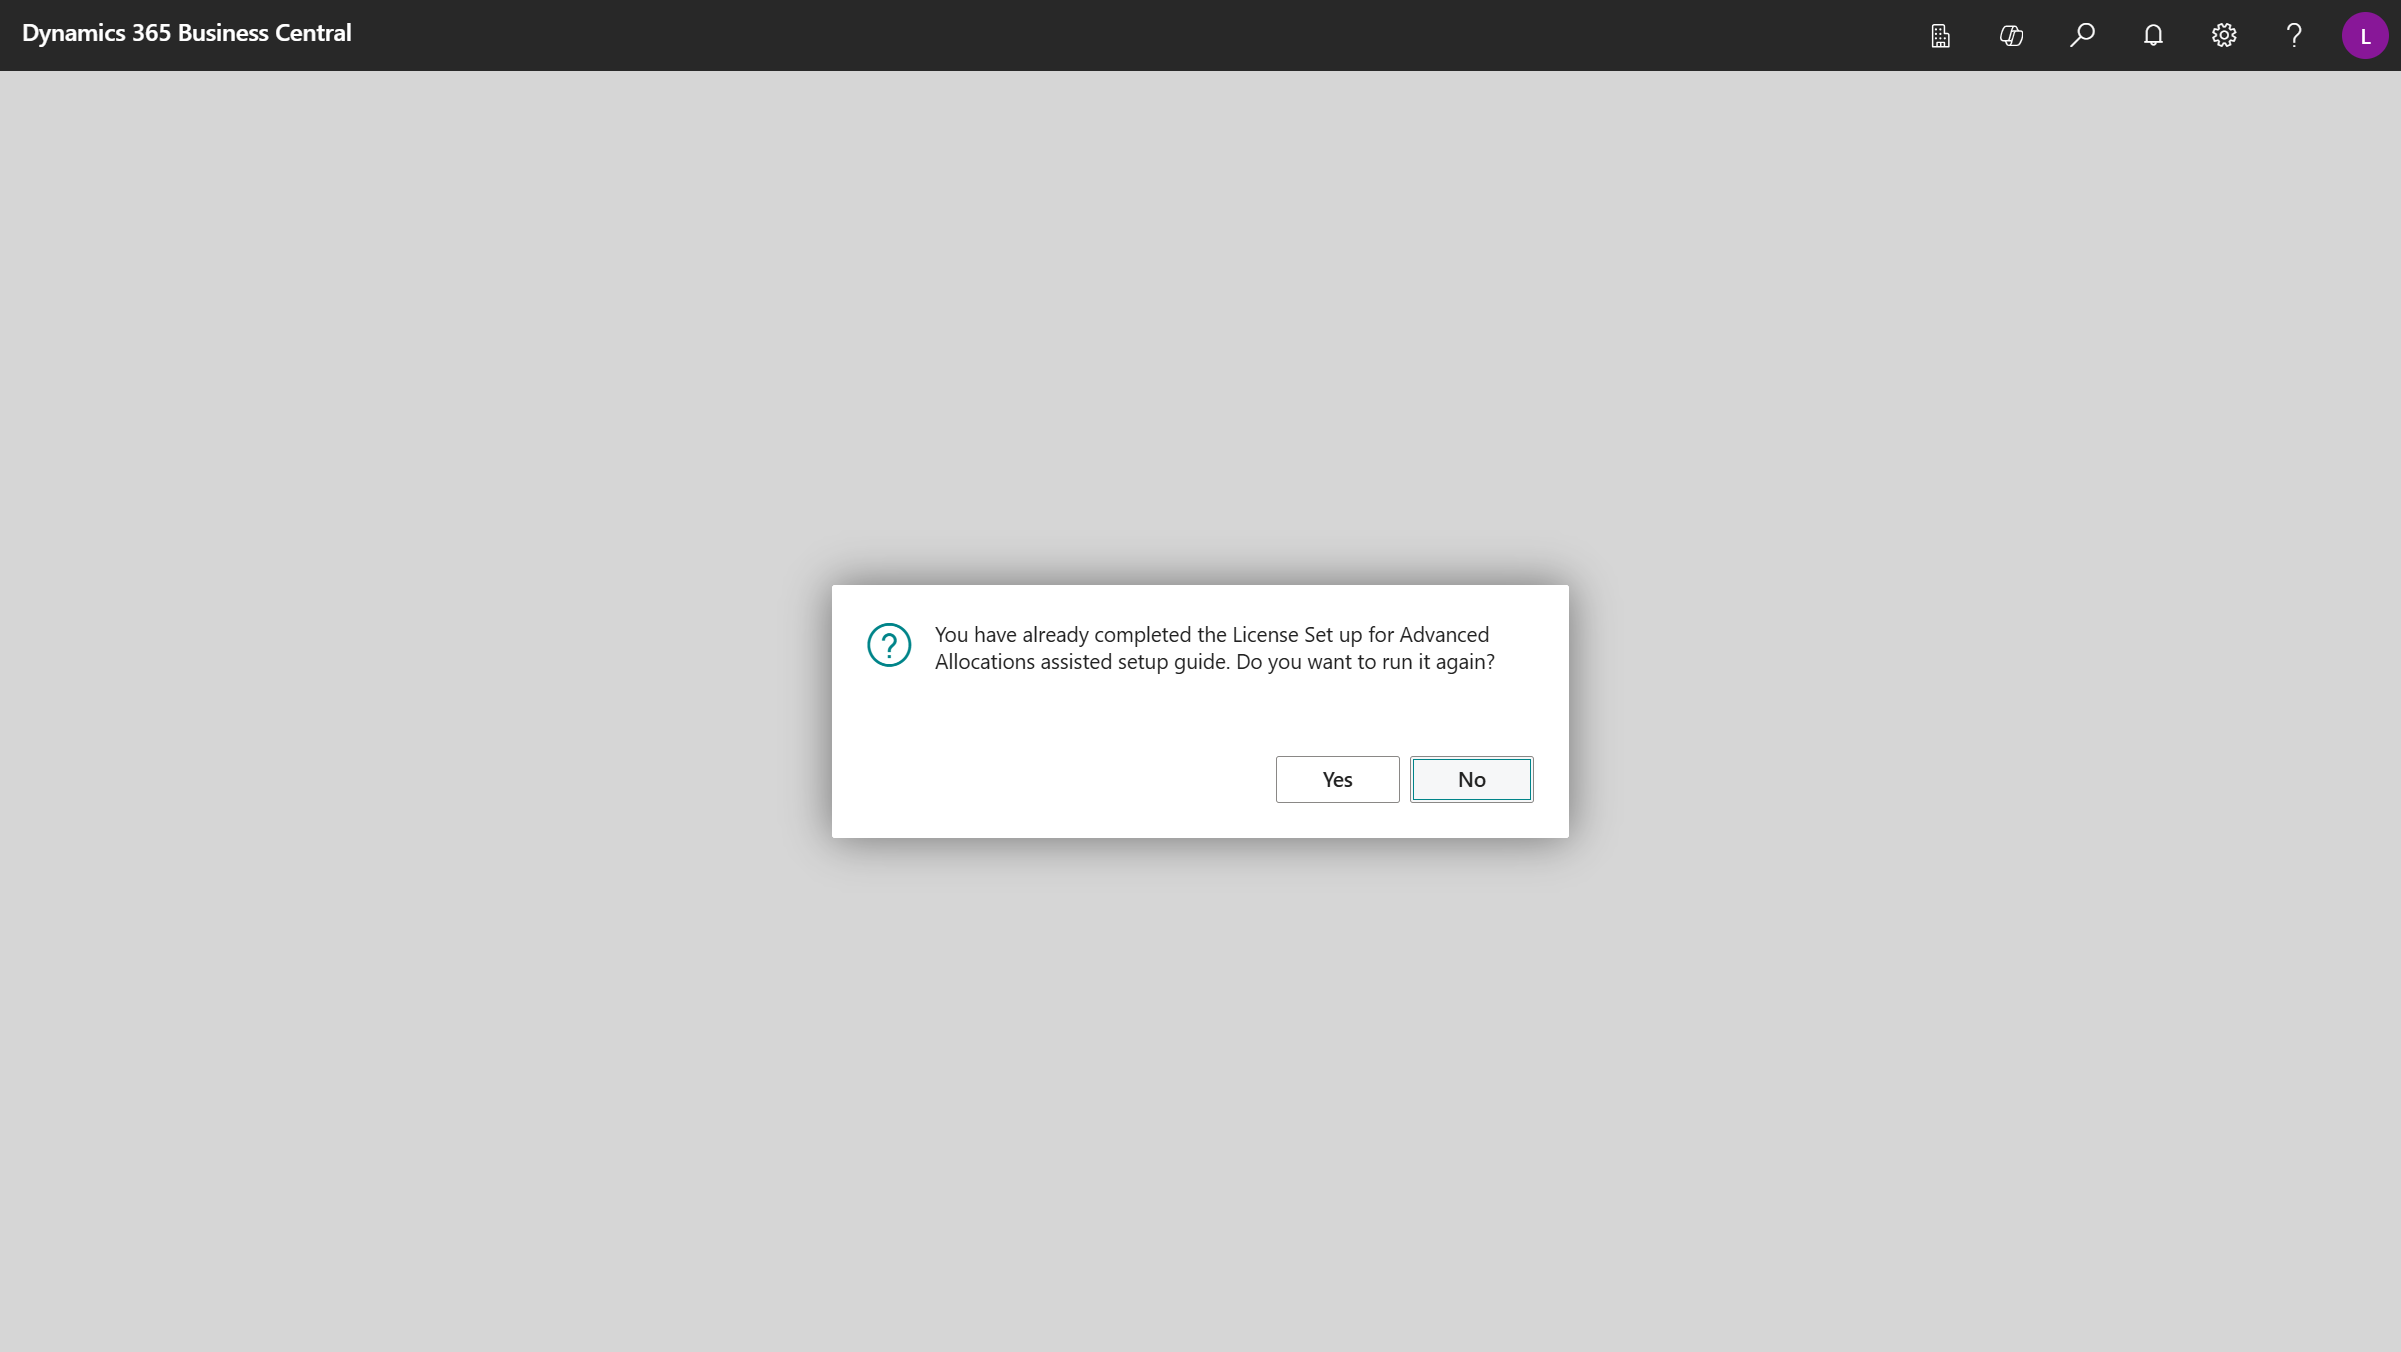
Click No to the message "You have already completed the License Setup for Advanced Allocations assisted setup guide. Do you want to run it again?"
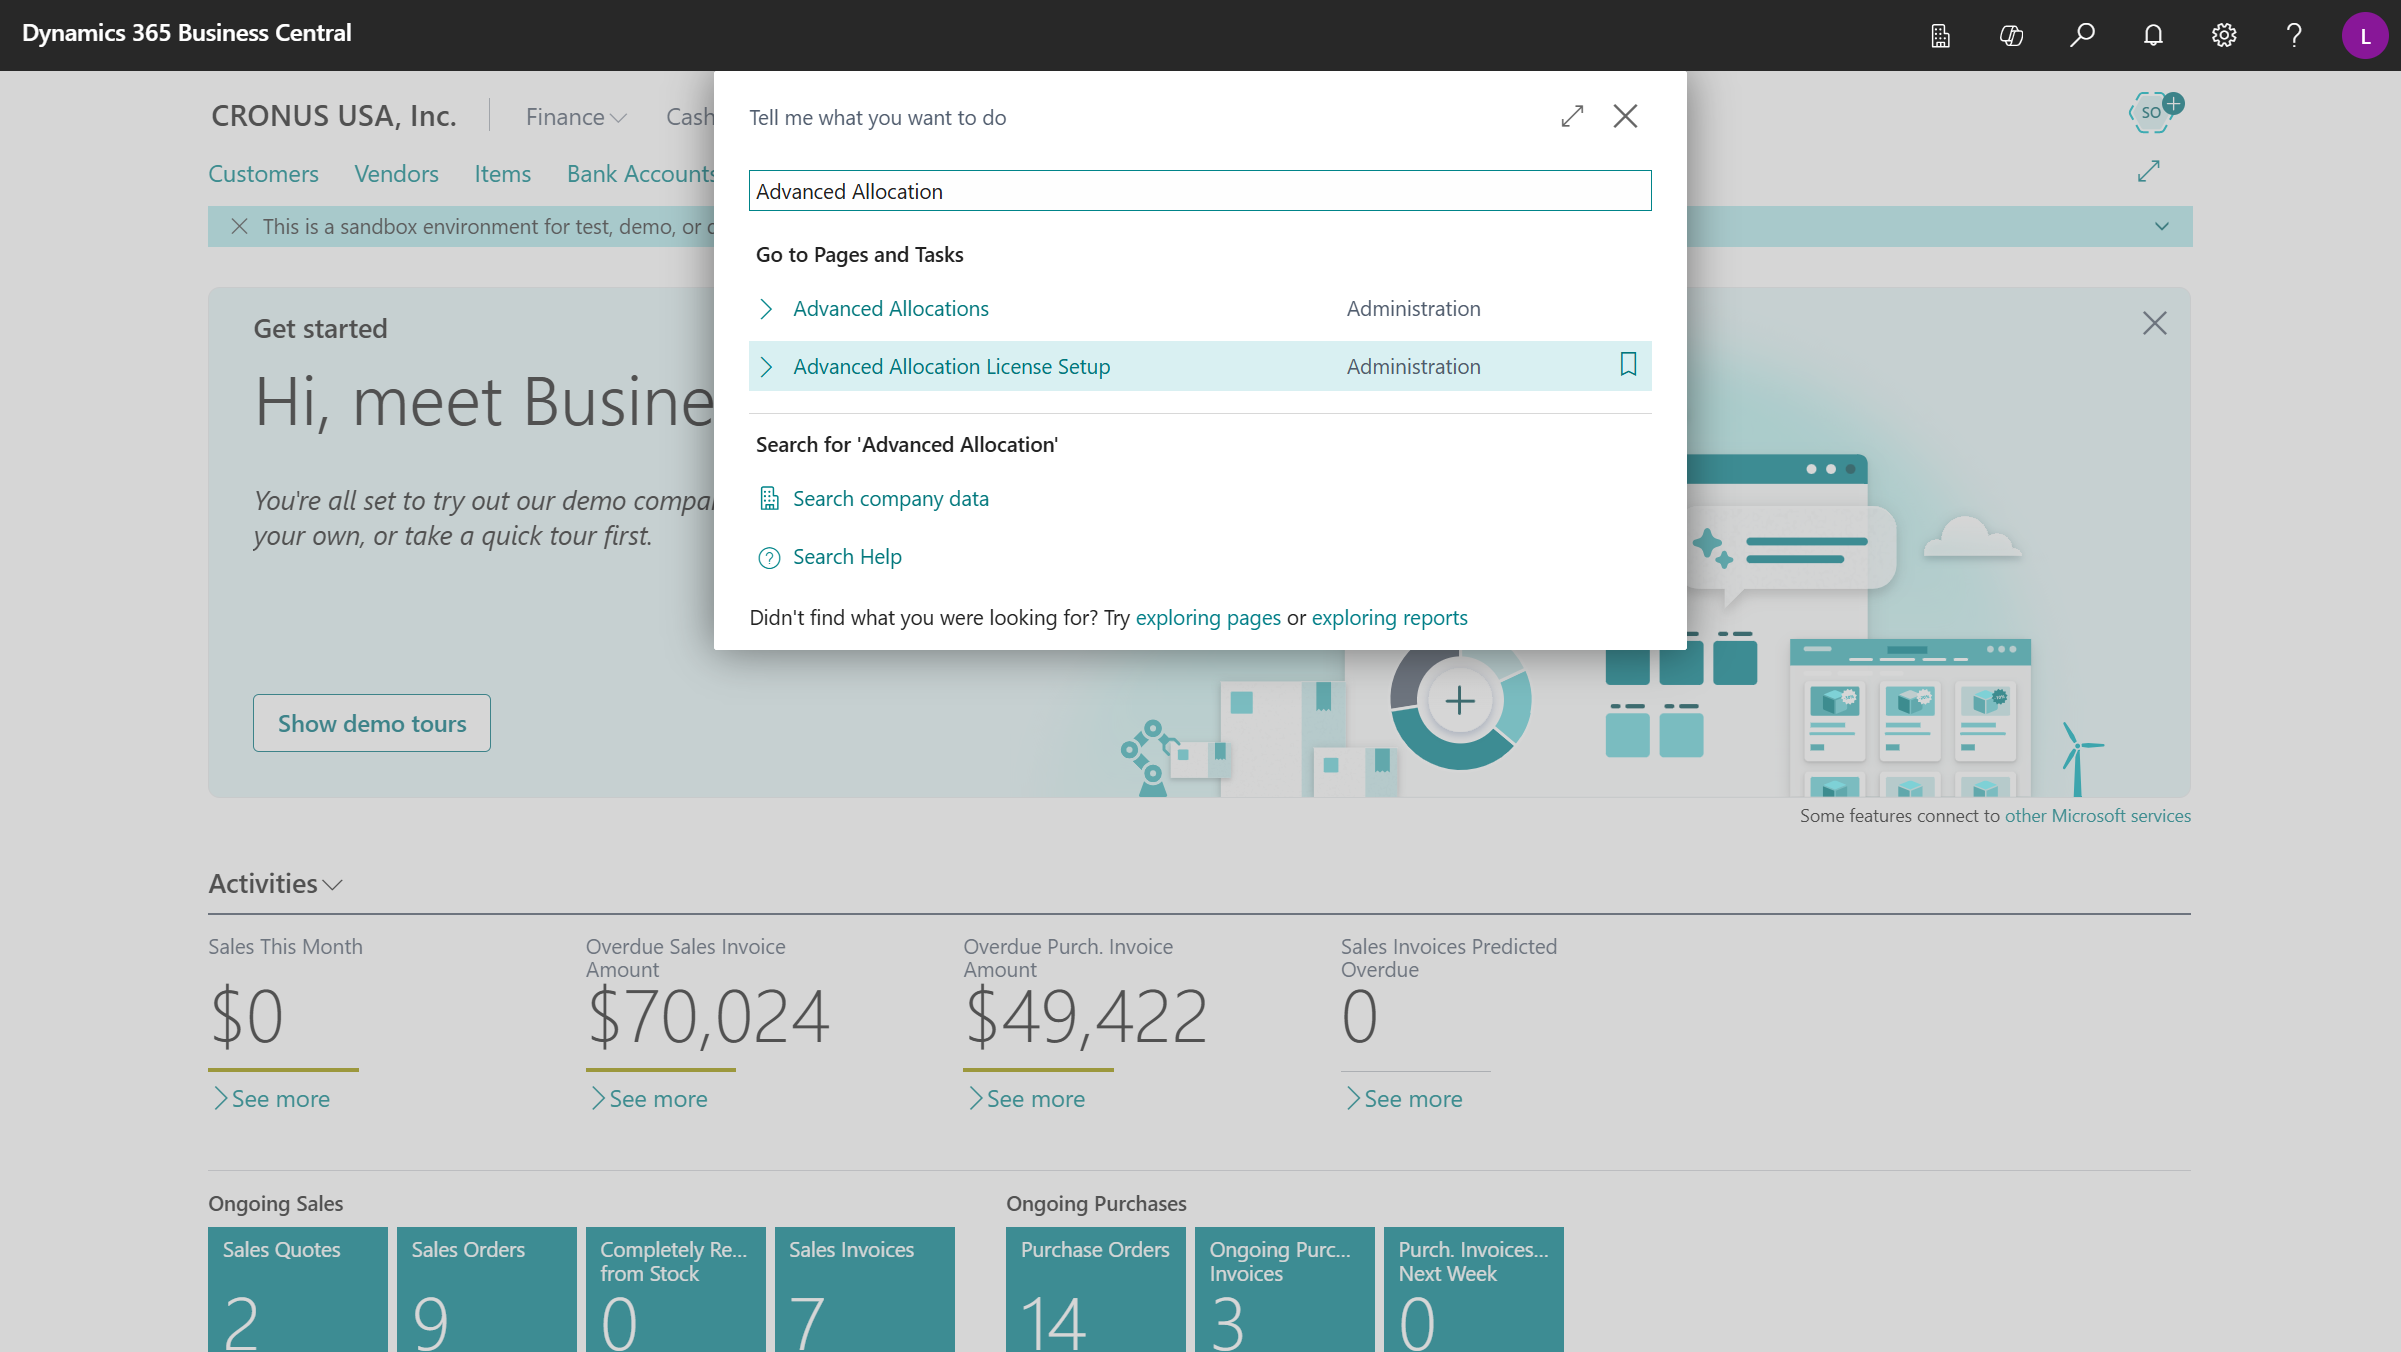
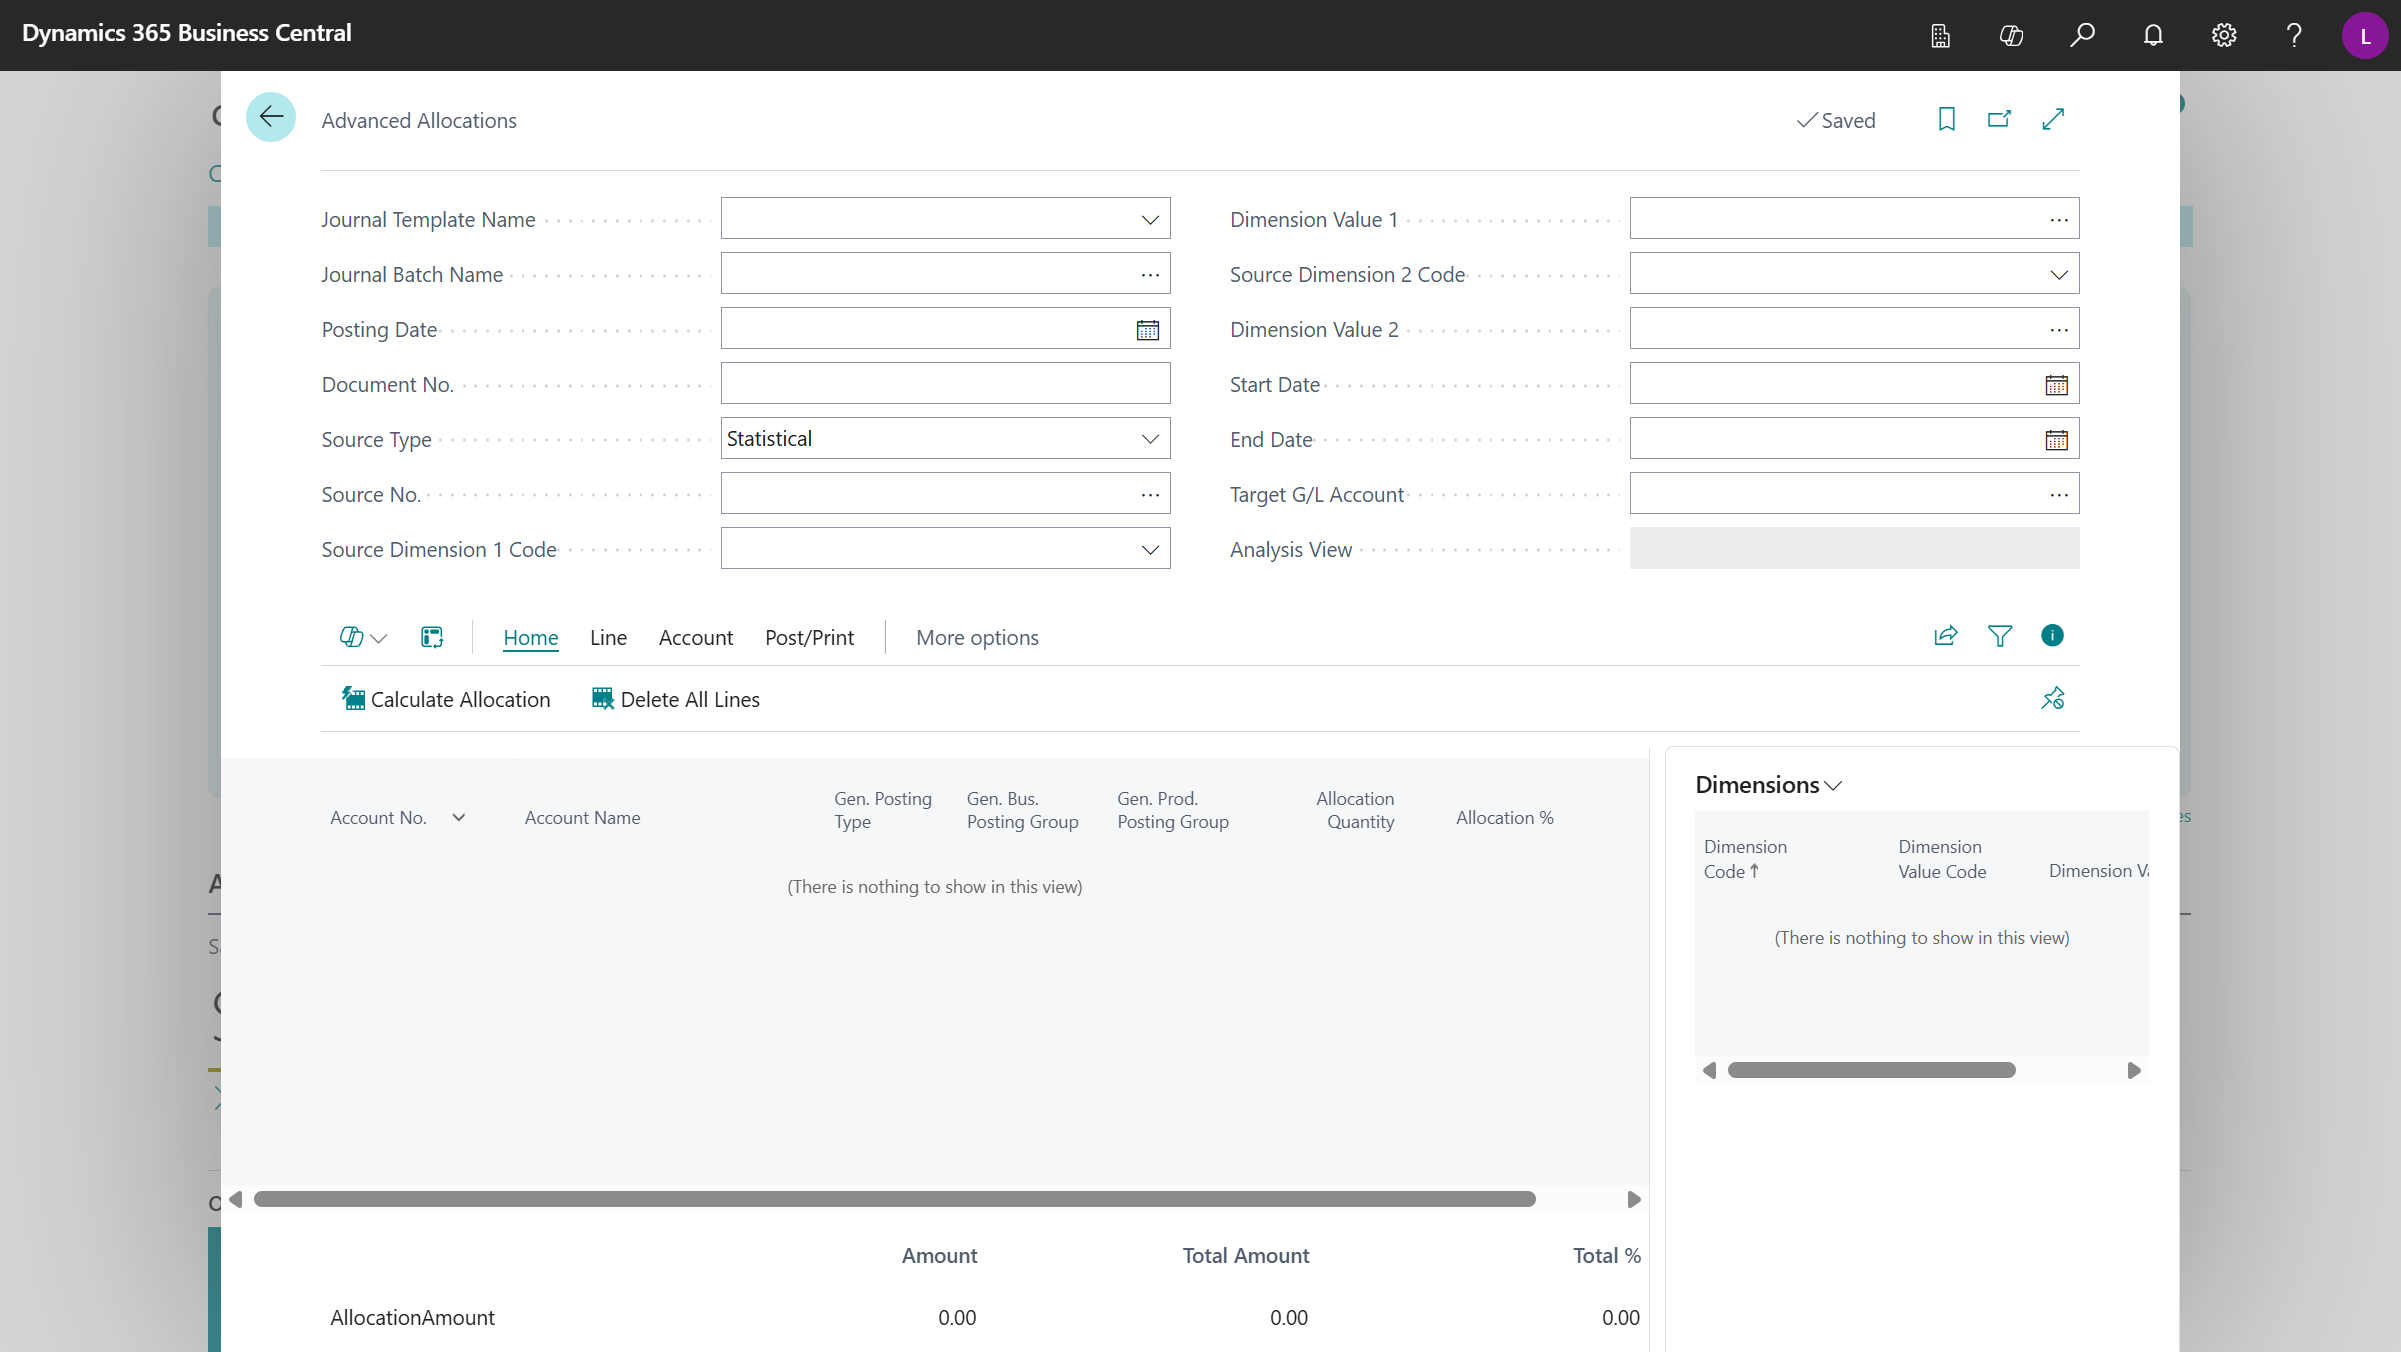
Once the installation and registration are completed, Advanced Allocations will appear in search results, and you can open and use the Advanced Allocations page.
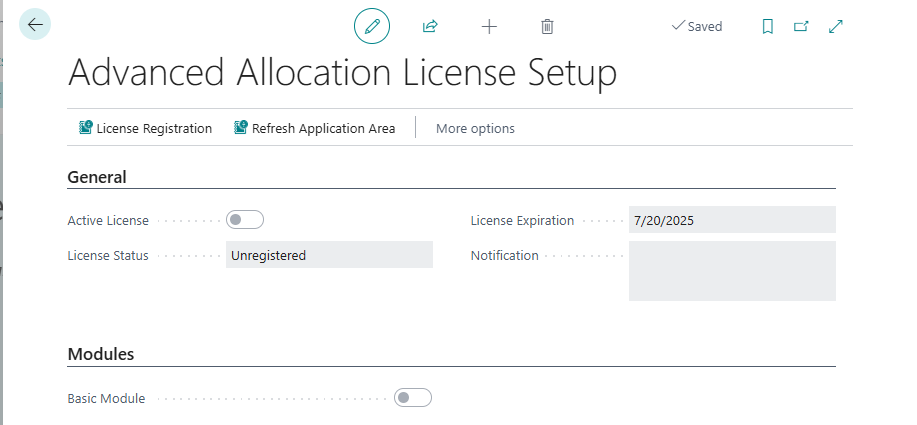
Advanced Allocation License Setup
The Advanced Allocation License Setup page gives a quick snapshot of the status of the Advanced Allocation Registration and Licensing status.
| Field Name | Description |
|---|---|
| License Registration |
Click to register the Advanced Allocation module, if not already completed. Message displays "Please Register your Advanced Allocations product to begin using the product. To access the Assisted Setup for Registration, exit the Advanced Allocation License Setup page, and reload the page. |
| Refresh Application Area | This function is used by Support to troubleshoot Product Registration issues. |
| Active License | Specifies, if the Advanced Allocation module license is active. This field is automatically turned on and off by the License Registration process. |
| License Status | |
| - | Trial: Initial status of the solution with a limit of 30 days of use |
| - Full: When the solution is purchased and the registration is updated, it will be set to Full | |
| - Expired: If the solution is not purchased, it will be set to Expired. | |
| License Expiration | When the License Registration process is initially run, it sets this date to 30 days from the initial installation. When the subscription is set to Full, this field is cleared. |
| Notification | If any errors occur during registration, they will appear in this field. |
| Modules | Basic Module: This field is turned on when the License Registration process is completed. |